Add New Leads to Brevo or Mailchimp Automatically (From Any Form or Source)

Quick Summary
Brevo and Mailchimp both connect easily to their own signup forms, but leads also arrive from website forms, Tally or Typeform, Google Sheets, payment pages and events. A small workflow can send every one of them to the right list: receive the lead, clean the email address, check consent, then call the provider's API once. For Brevo that is a POST to /v3/contacts with an api-key header, listIds and updateEnabled set to true; for Mailchimp it is a PUT to the member's MD5-hash address on your data centre's host, with status_if_new set to subscribed or pending. Never send a status that would resubscribe someone who left, and check the reply, because both APIs answer a rejected contact with an error your workflow can catch. In WorkflowMitra, powered by ChatMitra, this takes about two credits per lead and runs on any form that can call a URL.
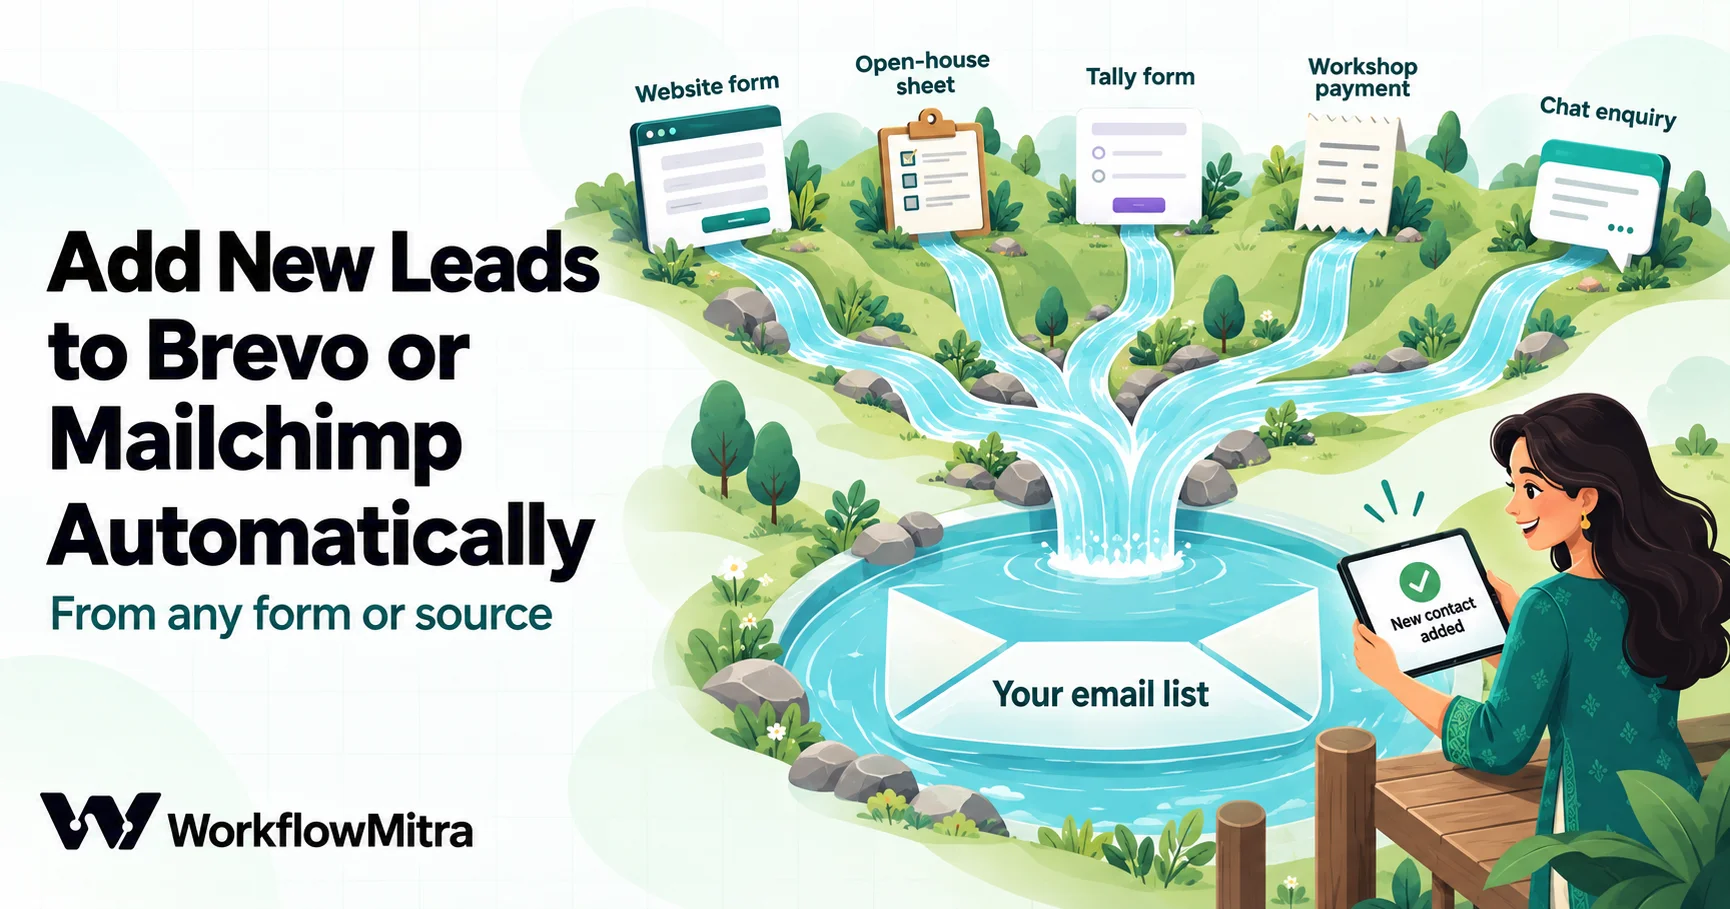
Most email lists grow from one place: the signup form the email tool gave you. Real leads don’t arrive that tidily. They come from a contact form on the website, a Tally or Typeform survey, a workshop sign-up sheet, a payment page, a stall at a trade show and a WhatsApp chat. Each source has its own fields, and none of them talks to Brevo or Mailchimp unless someone copies the rows across, usually late and usually in a batch, by which time the welcome email feels like an afterthought.
A short workflow fixes this. Every lead, from every source, goes to the right list within seconds, with the same checks applied each time: a clean email address, a recorded consent, no resubscribing of people who left, and an alert when the email tool says no.
This guide builds that workflow for both Brevo and Mailchimp. It covers the exact API calls each one expects, the fields worth sending, how double opt-in works in each, and the handful of errors that silently drop contacts. The examples use WorkflowMitra, powered by ChatMitra, and a yoga studio in Kochi that collects leads from four places, but the API advice applies whichever tool makes the call.
Quick answer: start a workflow from wherever leads arrive (a webhook from your form, or a new row in Google Sheets). Lowercase and trim the email, check the consent answer, then make one API call. For Brevo, POST to https://api.brevo.com/v3/contacts with an api-key header and a body containing email, attributes, listIds and "updateEnabled": true. For Mailchimp, PUT to the contact's address on your data centre's host, ending in the MD5 hash of the lowercased email, with email_address and status_if_new. Never send a status that resubscribes someone who left, and check the response so a rejected lead raises an alert instead of disappearing.
Why not just use the email tool’s own form?
Use it where it fits. Brevo and Mailchimp both offer hosted signup forms and embeddable forms, and both have ready-made connections to popular apps. If every lead comes through one of those, you don’t need a workflow.
The trouble starts when leads come from somewhere the email tool doesn’t reach, or from several places at once:
- A form builder you already use, such as a WordPress contact form, Tally, Typeform or Jotform, where the answers you care about (city, interest, batch timing) live in fields the email tool’s integration doesn’t map.
- A spreadsheet that sales, events or front-desk staff fill in by hand.
- A payment or booking page, where the buyer should join a “customers” list, not the general newsletter.
- A chat or phone enquiry, logged by a person or another workflow.
Connecting each source separately gives you four integrations with four sets of rules, and no single place to check consent or tag the source. Routing every source through one workflow gives you one set of rules. It also gives you a record: each run shows what arrived, what was sent to Brevo or Mailchimp and what came back.
Neither provider has a dedicated step in WorkflowMitra. The workflow talks to both through the HTTP Request step, which sends any API call you can describe. That is less work than it sounds, because each provider needs exactly one call per lead.
How the workflow fits together
The whole thing is five steps, and two of them are free checks:
- Trigger. A webhook that your form posts to, or a Google Sheets trigger set to “A row is added”.
- Consent and email check (IF). Continue only when there is an email address and the consent answer is yes.
- Add or update the contact (HTTP Request). One call to Brevo or Mailchimp.
- Check the reply (IF). Did the API accept it?
- Alert on failure. A Slack, Telegram or email message to whoever owns the list, with the reason the provider gave.
The studio in our example has a website enquiry form, a Tally form linked from Instagram, a sheet the front desk fills in at open-house days, and a Razorpay payment page for paid workshops. All four feed the same workflow pattern, each with its own trigger, and every lead lands in the same Brevo account with a LEAD_SOURCE attribute saying where it came from.
What you need before you start
Collect these before building anything. Most failed first runs come from a wrong list ID or a missing field, not from the workflow.
| Item | Brevo | Mailchimp |
|---|---|---|
| API key | Account settings → SMTP & API → API keys. Create one just for this workflow | Profile → Extras → API keys → Create New Key. You see it only once |
| Where the list lives | List ID: the number shown next to the list under Contacts → Lists | Audience ID: in the audience's settings, under "Audience name and defaults" |
| Field names | Contact attributes in capitals: FIRSTNAME, LASTNAME and SMS exist by default; create others (such as LEAD_SOURCE) first | Merge tags: FNAME, LNAME, ADDRESS and PHONE exist by default but can be renamed, so check yours |
| Host | api.brevo.com for every account | Your data centre, such as us21.api.mailchimp.com: the part after the dash at the end of your key |
| Sign-in method | An api-key header | The key as a Bearer token, or Basic auth with any username and the key as password |
| Opt-in setting | Decide single or double opt-in; double needs a confirmation template | Check whether the audience uses double opt-in; it decides which status you send |
Treat both keys like passwords. A Mailchimp key gives full access to the account that created it, with no read-only option, and Mailchimp’s own documentation says it must never sit in a browser or a mobile app. That rules out calling either API straight from your website’s form; the call has to come from a server or a workflow. In WorkflowMitra the key is saved in the step’s settings, where people with access to the workflow can see it, so give each workflow its own key and delete the key if the workflow is retired.
Consent comes first
An email list is only worth having if the people on it agreed to be there. Two rules keep the workflow on the right side of that, whichever provider you use.
Record the consent where it was given. The form needs a consent question of its own, worded for email (“Send me class updates and offers by email”), not buried in terms and conditions. The workflow passes the answer, the source and the date to the contact record, so you can show later where and when someone agreed. India’s Digital Personal Data Protection Act expects consent to be specific and provable, and our guide to personal data in automations covers what that means for workflows in more detail. If the same form also asks permission for WhatsApp messages, keep that as a separate question; ChatMitra’s guide to WhatsApp opt-in explains why the two channels need separate consent.
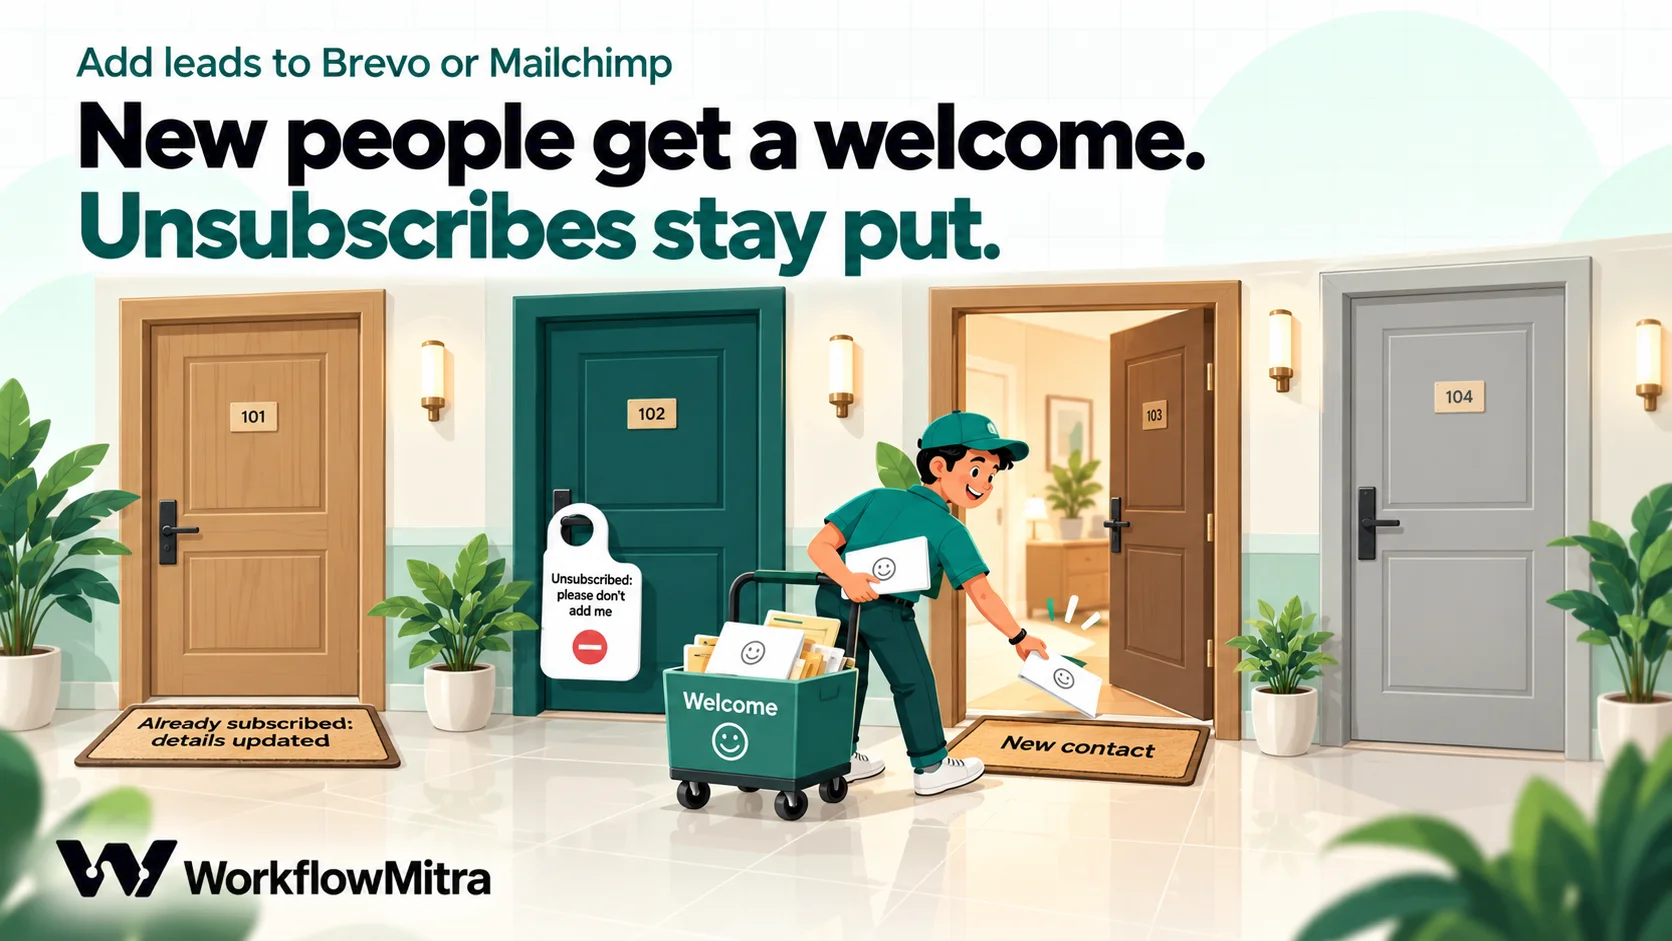
Never resubscribe someone who left. This is the mistake automated imports make most often. A person unsubscribes in March, fills in a different form in June, and a careless workflow sets them back to “subscribed”. Both providers give you a way to avoid it, and the steps below use it:
- In Mailchimp, send
status_if_newand leave outstatus. Mailchimp appliesstatus_if_newonly when the address is new to the audience, so an existing unsubscribed contact keeps their status. Mailchimp’s help centre says contacts who unsubscribed themselves have to rejoin through your signup form. - In Brevo, leave
emailBlacklistedout of the body. Sendingfalseon an update would lift the email block of someone who unsubscribed; leaving it out updates only the attributes and lists you send.
Step 1: start the workflow where the leads arrive
From a form. Create a workflow with a webhook trigger, choose “Website form” as the source if your form tool can send a custom header, and copy the URL into the form’s webhook or “POST to URL” setting. New WorkflowMitra webhooks expect a secret in an x-webhook-secret header. Form builders that support custom headers, such as Tally and many WordPress form plugins, can send it, and Typeform has its own preset in the source picker. A plain HTML form can’t, and our guide to sending an HTML form to a webhook explains the safe way to handle that. For a hosted form, see the step-by-step for Tally or the general guide to landing page leads.
From a sheet. Use the Google Sheets trigger with “A row is added”. It checks the sheet on a schedule you choose, and on the first check it notes the rows that already exist without sending them, so only rows added afterwards start runs. That’s what you want for a live sign-up sheet. To load an old list once, export it and import it in Brevo or Mailchimp directly; a workflow is the wrong tool for a one-off bulk import.
From another app. A payment page, booking tool or CRM that sends webhooks works the same way as a form. Map its fields in the next steps.
Submit one real test lead before going further, then open the run and look at the trigger’s output. The field names you see there (email, Email, your-email) are the ones you’ll reference, written as {{ $trigger.email }} or {{ $trigger["Email address"] }} for names with spaces.
Step 2: clean the email and check consent
Add an IF step with one route, named something like “Consented”, and two AND rules:
{{ trim($trigger.email) }}Is not empty, and the value Contains@.- The consent answer Equal to, ignore case
yes(or whatever your form sends when the box is ticked; check the test run).
Only that route continues to Brevo or Mailchimp. Leave the Else path empty, or point it at a sheet that logs leads without consent so sales can still call them; they just don’t join a marketing list.
Clean values inside the API call itself rather than in extra steps. WorkflowMitra’s expressions handle the usual fixes inline:
{{ lower(trim($trigger.email)) }}removes stray spaces and capitals. This matters more for Mailchimp, which identifies contacts by a hash of the lowercased address.{{ first(split(trim($trigger.name), " ")) }}takes the first word of a full name for a greeting field.{{ replace(replace($trigger.phone, " ", ""), "-", "") }}turns+91 98765 43210into+919876543210. Our guide to formatting phone numbers covers numbers that arrive without a country code.
Step 3a: add the contact to Brevo
Add an HTTP Request step and fill it in like this:
- Authentication type: API key (header). Header name:
api-key. Key: your Brevo API key. - URL:
https://api.brevo.com/v3/contacts - Method: POST
- Body content type: Raw (JSON string)
Then the body:
{
  "email": "{{ lower(trim($trigger.email)) }}",
  "attributes": {
    "FIRSTNAME": "{{ first(split(trim($trigger.name), " ")) }}",
    "LEAD_SOURCE": "website-enquiry",
    "CONSENT_DATE": "{{ formatDate(now(), "YYYY-MM-DD") }}"
  },
  "listIds": [7],
  "updateEnabled": true
}
A few details matter here.
updateEnabled: true turns create into create-or-update. Without it, a lead whose email Brevo already knows is refused: Brevo’s docs list “email or phone number already exists” among the reasons a create fails. With it, Brevo answers 201 with the new contact’s id when the person is new, and 204 with an empty body when it updated someone who was already there. Both mean success.
Attributes must already exist. Brevo stores only attributes defined in your account, and it ignores a value whose type doesn’t match the attribute. Create LEAD_SOURCE and CONSENT_DATE as text attributes in your contact settings before the first run. A quoted {{ }} value is escaped for you, so a name like Ananya "Annie" Rao arrives intact rather than breaking the JSON.
listIds is a list of numbers, not text. Leave the brackets and digits unquoted. To pick the list from an answer, put an expression inside the brackets without quotes: [{{ switch($trigger.interest, "Prenatal", 9, "Weekend", 8, 7) }}] sends 9, 8 or the general list 7.
Think before sending the phone number as SMS. Brevo’s SMS attribute is an identifier, like the email address. If the number already belongs to a different contact (a couple sharing one phone, or a lead who signs up again with a new email), Brevo treats the create as a conflict and returns an error, because forceMerge is off by default and merging two different people is rarely right. If you only want the number on record, create a text attribute such as PHONE_TEXT and send it there. Use SMS when you plan SMS or WhatsApp campaigns from Brevo, and send it with the plus sign and country code: Brevo applies your account’s default country to numbers without one.
Double opt-in with Brevo
For double opt-in, Brevo uses a different endpoint. The contact is added to your lists only after they click the link in a confirmation email.
- Method: POST, with the same
api-keyheader, to this URL:
https://api.brevo.com/v3/contacts/doubleOptinConfirmation- Body:
email,includeListIds(instead oflistIds),templateIdandredirectionUrlare required;attributesis optional and works as above.
The template is a double opt-in confirmation email you design in Brevo; its button links to the confirmation URL, which Brevo’s docs reference with the params.DOIurl tag. The redirection URL is the thank-you page people see after clicking. A successful call returns 201.
Step 3b: add the contact to Mailchimp
Mailchimp’s add-or-update call addresses each contact by a hash of their email, on your account’s own host. WorkflowMitra’s expressions include md5(), so the hash goes straight into the URL.
- Authentication type: Bearer token. Token: your Mailchimp API key. (Basic auth with any username and the key as the password works too.)
- Method: PUT
- Body content type: Raw (JSON string)
- URL, with your data centre in place of
us21and your audience ID in place ofa1b2c3d4e5:
https://us21.api.mailchimp.com/3.0/lists/a1b2c3d4e5/members/{{ md5(lower(trim($trigger.email))) }}Then the body:
{
  "email_address": "{{ lower(trim($trigger.email)) }}",
  "status_if_new": "subscribed",
  "merge_fields": {
    "FNAME": "{{ first(split(trim($trigger.name), " ")) }}"
  }
}
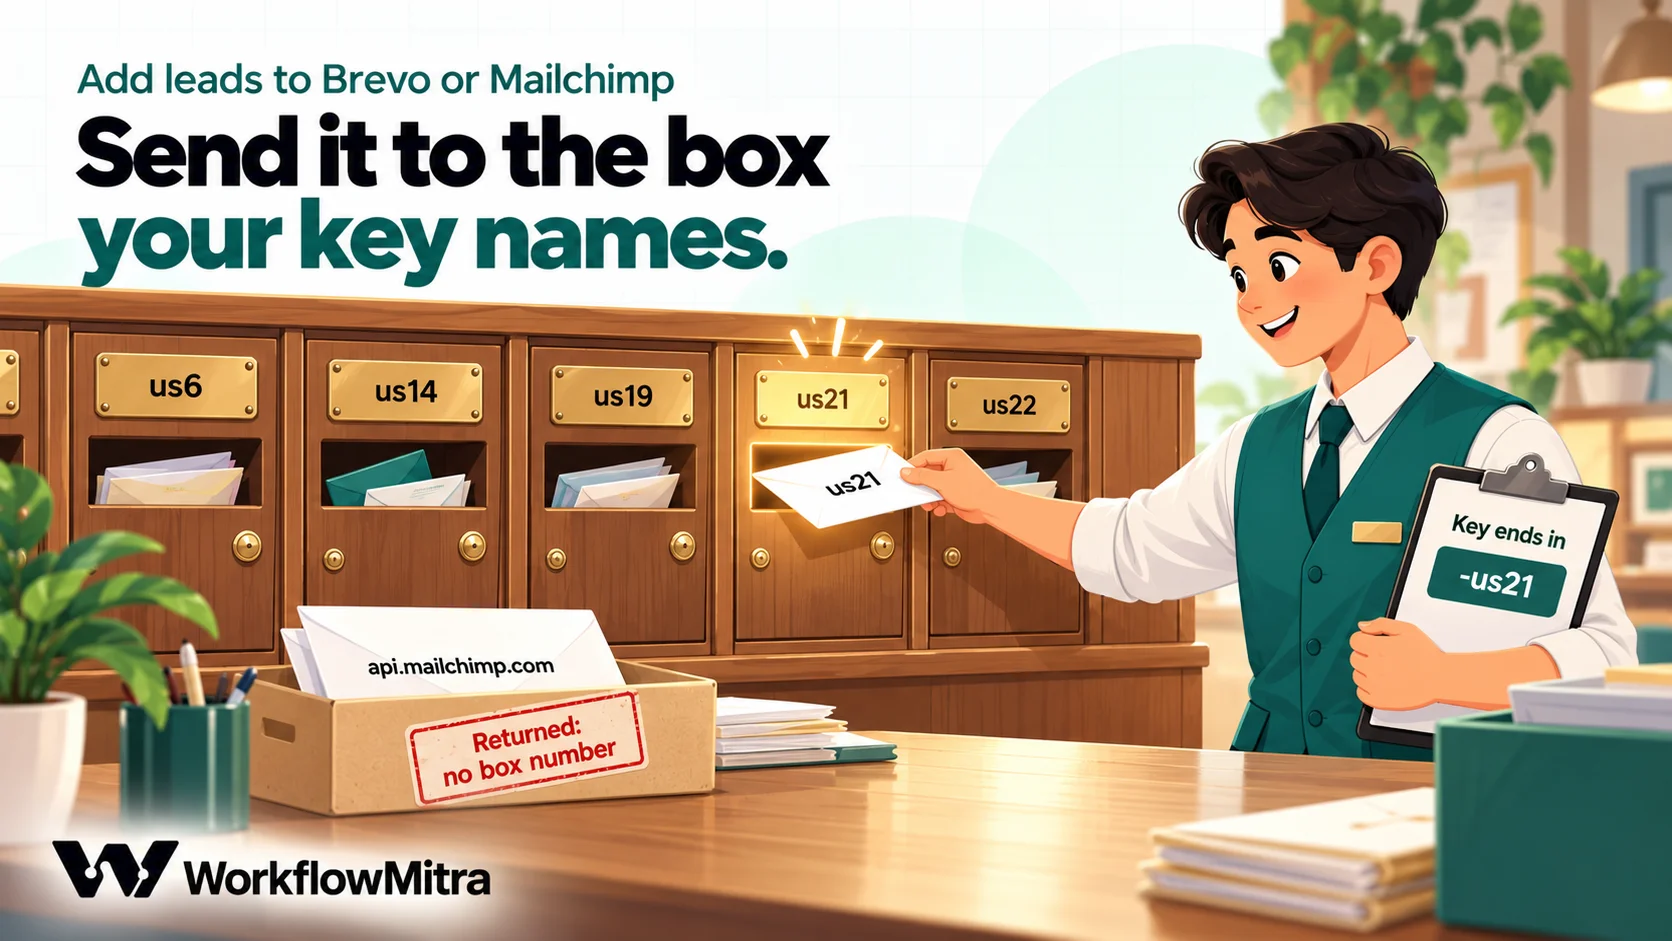
Use your data centre’s host. Mailchimp’s newer reference pages show a plain api.mailchimp.com address. We tested that address on 19 October 2026 with a key ending in -us21 and got a 403 with the message “The API key provided is linked to a different datacenter”, while the same request to us21.api.mailchimp.com reached the key check. Copy the letters and digits after the final dash of your key into the host, and the error goes away.
The hash must come from the lowercased address. Mailchimp identifies contacts by the MD5 of the lowercase email. Hash [email protected] as typed and you get a different hash from the one Mailchimp uses for that contact. md5(lower(trim(...))) gives the hash Mailchimp expects; we checked the expression against a standard MD5 of the lowercased address. Mailchimp’s reference says the endpoint also accepts a plain email address in place of the hash, but the hash avoids any trouble with characters such as + in the URL.
email_address is required on every call, even though the URL already identifies the contact. Mailchimp needs it to create the record if the hash doesn’t match anyone yet.
Pick the status from the audience setting. Mailchimp’s developer guide is direct about this: send subscribed only on a single opt-in audience. On a double opt-in audience, subscribed skips the confirmation email and leaves you with a contact marked subscribed who never confirmed. Send pending instead, and Mailchimp emails the confirmation itself. You can see which kind of audience you have in its settings, or with a GET to the list (the double_optin field).
Required merge fields can block a lead. If someone marked a merge field such as ADDRESS as required, any call without it fails validation. Either send the field, unmark it in the audience settings, or add ?skip_merge_validation=true to the URL. If you send PHONE, check that the audience’s phone field uses the international format, which is Mailchimp’s default; the US format expects ten digits.
Tags in Mailchimp
Tags are how most teams separate interests inside one audience. Mailchimp’s guide to tags uses a separate call for them, which adds or removes named tags on a contact without touching the others:
- Method: POST, same Bearer token, to the member’s address with
/tagson the end:
https://us21.api.mailchimp.com/3.0/lists/a1b2c3d4e5/members/{{ md5(lower(trim($trigger.email))) }}/tags- Body:
{"tags": [{"name": "website-enquiry", "status": "active"}]}
Add it as a second HTTP Request step after the upsert when the source tag matters to your campaigns. It costs one more credit per lead.
Step 4: check the reply and alert on failure
The HTTP Request step doesn’t stop the workflow when Brevo or Mailchimp says no. It finishes successfully and hands on the provider’s answer: status (the HTTP status code), ok (yes for any 2xx code), and body (the provider’s message). That’s useful, because it lets the next step decide what to do, but it also means a rejected lead looks like a successful run unless you check.
Add an IF step after the API call, with one route named “Rejected”:
{{ $node["Add to Brevo"].ok }}Is no (use your step’s name).
On that route, send a short alert to the list owner with the lead’s email, the source, {{ $node["Add to Brevo"].status }} and {{ $node["Add to Brevo"].body.message }} for Brevo, or .body.detail for Mailchimp, which explains the error in a sentence. Our guide to workflow error handling covers alert patterns, and the one on HTTP status codes explains what each code means.
The “On failure” setting under the step’s Advanced settings covers a different case: a timeout or a network failure where no reply came back at all. Leave it on “Stop workflow” so those runs show as failed in run history and trigger WorkflowMitra’s failure alert.
Map your fields once
Keep a small mapping table next to the workflow. It saves guesswork when a new form is added or a field is renamed.
| Form field | Brevo | Mailchimp | Note |
|---|---|---|---|
email | email_address and the hash in the URL | Always lower(trim()) | |
| Full name | FIRSTNAME, LASTNAME | FNAME, LNAME | Split on the first space, or ask for first name only |
| Phone | SMS (identifier) or a text attribute | PHONE | Plus sign and country code |
| Where the lead came from | A text attribute such as LEAD_SOURCE | A tag, or a text merge field | Fixed text per workflow, or from UTM fields |
| Interest or course | Picks the list in listIds | A tag or group | Use one audience in Mailchimp |
| Consent answer | Checked in the IF step; date in CONSENT_DATE | Checked in the IF step; add a text merge field for the date if you need it | Never send leads without it |
The source field earns its place quickly: once every contact carries it, the email tool can show which sources bring people who open and click, and which bring sign-ups who never read a thing. Our guide to tracking lead source automatically covers capturing UTM values from ads into the same field.
On Mailchimp, prefer one audience with tags over several audiences. Mailchimp’s documentation is explicit that the same person in two audiences is two separate contacts, with separate statuses and separate unsubscribe records.
Brevo and Mailchimp side by side
The two APIs reach the same result in slightly different ways. These are the differences that change how you build the step.
| Brevo | Mailchimp | |
|---|---|---|
| Call | POST /v3/contacts | PUT /3.0/lists/{list}/members/{hash} |
| Create or update | updateEnabled: true | Built in (PUT is an upsert) |
| Contact identity | Email, SMS number or your own ext_id | MD5 of the lowercased email |
| Lists | Several list IDs in one call | One audience per call; tags inside it |
| Double opt-in | Separate endpoint with a template and redirect URL | Send pending; Mailchimp sends the email |
| Success replies | 201 created, 204 updated | 200 with the member record |
| Rate limits | 10 requests a second on every plan for contact endpoints (20 on Professional and Enterprise) | 10 simultaneous connections per user |
| Access controls | Optional blocking of unknown IP addresses | Key tied to the user who created it |
Neither rate limit matters for leads arriving one at a time. They matter if you loop over hundreds of rows in one run, which is another reason to import old lists in the email tool rather than through a workflow.
Two account settings can break a working setup without any change on your side. In Brevo, the security settings can block API calls from IP addresses not on an authorised list. WorkflowMitra doesn’t publish a fixed set of outbound addresses, so if that blocking is on, calls from the workflow are refused even with a valid key. Check your Brevo security settings if a workflow that used to work suddenly gets unauthorised errors. In Mailchimp, a key belongs to the user who created it, so removing that user from the account revokes the key, and lowering their role can cause 403 errors on calls they used to be allowed to make. Create the key from an admin user who will stay on the account.
Test it before you trust it
Send four test leads through the real form, one at a time, and check the run and the email tool after each:
- A brand-new address with consent. It should appear in the right list with every attribute or merge field filled.
- The same address again, with a changed name. Brevo should answer 204 and Mailchimp 200, with one contact, now updated, not two.
- An address you unsubscribed by hand beforehand. It must still be unsubscribed afterwards.
- A lead without consent. It must stop at the IF step and never reach the API.
Then break one thing on purpose, such as a wrong list ID, and confirm the alert arrives with a readable reason. Our guide to testing an automated workflow has a fuller checklist.
Troubleshooting
| Symptom | Likely cause | Fix |
|---|---|---|
| Brevo 401 | Wrong key, wrong header name, or the IP-blocking setting refused the call | Header name must be api-key; check Brevo's security settings |
Brevo 400 duplicate_parameter | Email exists and updateEnabled is off, or the SMS number belongs to another contact | Turn on updateEnabled; move the phone to a text attribute |
| Brevo contact created without a custom field | The attribute doesn't exist, or the value's type doesn't match | Create the attribute first; text attributes accept any text |
| Mailchimp 403 "different datacenter" | Host doesn't match the key's data centre | Use <dc>.api.mailchimp.com from the end of the key |
| Mailchimp 400 "Invalid Resource" | A required merge field is missing, or a value failed validation | Send the field, unmark it as required, or skip merge validation |
| Mailchimp 404 | Wrong audience ID | Copy the Audience ID from the audience's settings |
| Mailchimp refuses an address that unsubscribed | The person unsubscribed themselves | Leave it; they can rejoin through your signup form |
| Contacts stuck as pending | Double opt-in emails not confirmed | Normal; check the confirmation email's wording and spam placement |
| No run at all | Form isn't calling the webhook, or the workflow is off | Check the webhook's Recent deliveries and that the workflow is on |
What it costs to run
Brevo and Mailchimp don’t charge for API calls; your plan’s contact and sending limits apply as usual.
In WorkflowMitra, a credit is one executed step. The trigger uses one credit and the HTTP Request step uses one, while IF steps are free, so a typical lead costs two credits. The Mailchimp tags step adds one, and the failure alert adds one only when something goes wrong. On the Starter plan, ₹999 a month for 10,000 credits, that’s room for roughly 5,000 leads a month alongside nothing else. Every step is billed per attempt, including one that receives an error reply, which is one more reason to stop leads without consent before the API call rather than after it.
Limits to know about
- No dedicated Brevo or Mailchimp step. Everything here runs through the HTTP Request step, so you work with each provider’s field names directly.
- Leads in, not events out. This workflow sends contacts to the email tool. It doesn’t react to opens, clicks or unsubscribes inside Brevo or Mailchimp.
- Keys sit in the workflow. Anyone who can open the workflow can see the key. Use a key per workflow and restrict who can edit it.
- One-off imports belong in the email tool. The sheet trigger ignores rows that existed before it started, by design.
- Every source needs its own consent question. The workflow can check a consent answer; it can’t create one the form never asked.
Beyond email
Once every lead passes through one workflow, adding the next action is one more step. The same run can add the lead to a Google Sheet for the front desk, assign it to a salesperson, or send a WhatsApp confirmation to people who agreed to WhatsApp messages, through ChatMitra or Meta’s Cloud API. Our guide to lead management automation shows how these pieces fit around a list, and the one on connecting any API without code covers the HTTP Request step in more depth if you want to send leads to a CRM as well.
Send every lead to the right list
Leads from five sources don’t need five integrations. A webhook or sheet trigger, a consent check and one API call put each lead in the right Brevo list or Mailchimp audience within seconds, cleaned, tagged with its source and never resubscribed against their wishes. The reply check makes sure a refused lead raises its hand instead of vanishing.
Build the version for one source first, run the four test leads, then copy the workflow for each other source and change only the trigger and the source label. WorkflowMitra, powered by ChatMitra, runs it on one canvas and shows every call and reply in run history. Start a WorkflowMitra trial: 14 days, 10,000 credits, no card needed.
Sources: Brevo developer documentation, Create a contact (updateEnabled, forceMerge, identifiers, error codes), Manage your contacts (201/204 replies, SMS format, duplicate errors), Create a contact with double opt-in, API rate limits and IP security; Mailchimp developer documentation, Add or update list member, Import and export contacts (pending vs subscribed, email_address on every PUT), Authentication, Rate limits, Merge fields, Contacts and Organize contacts with tags; Mailchimp Help, Resubscribe a contact and Format guidelines for your import file; all read on 19 October 2026. The Mailchimp data-centre behaviour was tested the same day with a placeholder key. WorkflowMitra prices are from its live plans API on that date, and the HTTP Request step's authentication options, error-reply behaviour and credit rates, the Sheets trigger's first check and the expressions in this guide were checked against the product's source code, with the request bodies and the MD5 hash run through the product's expression resolver. The studio and the names are examples.
Frequently Asked Questions
Short answers to common questions about adding leads to Brevo and Mailchimp automatically.
Send each new lead to Brevo's create-contact endpoint, POST https://api.brevo.com/v3/contacts, with your API key in an api-key header. Put the email address, any attributes such as FIRSTNAME, the list IDs and updateEnabled: true in the JSON body. A workflow tool can make that call every time a form, sheet or app produces a lead. Brevo answers 201 for a new contact and 204 when it updated an existing one.
Automate the work between your apps
Build workflows with triggers, conditions and actions, then test them before they go live. Try WorkflowMitra free for 14 days, no card required.