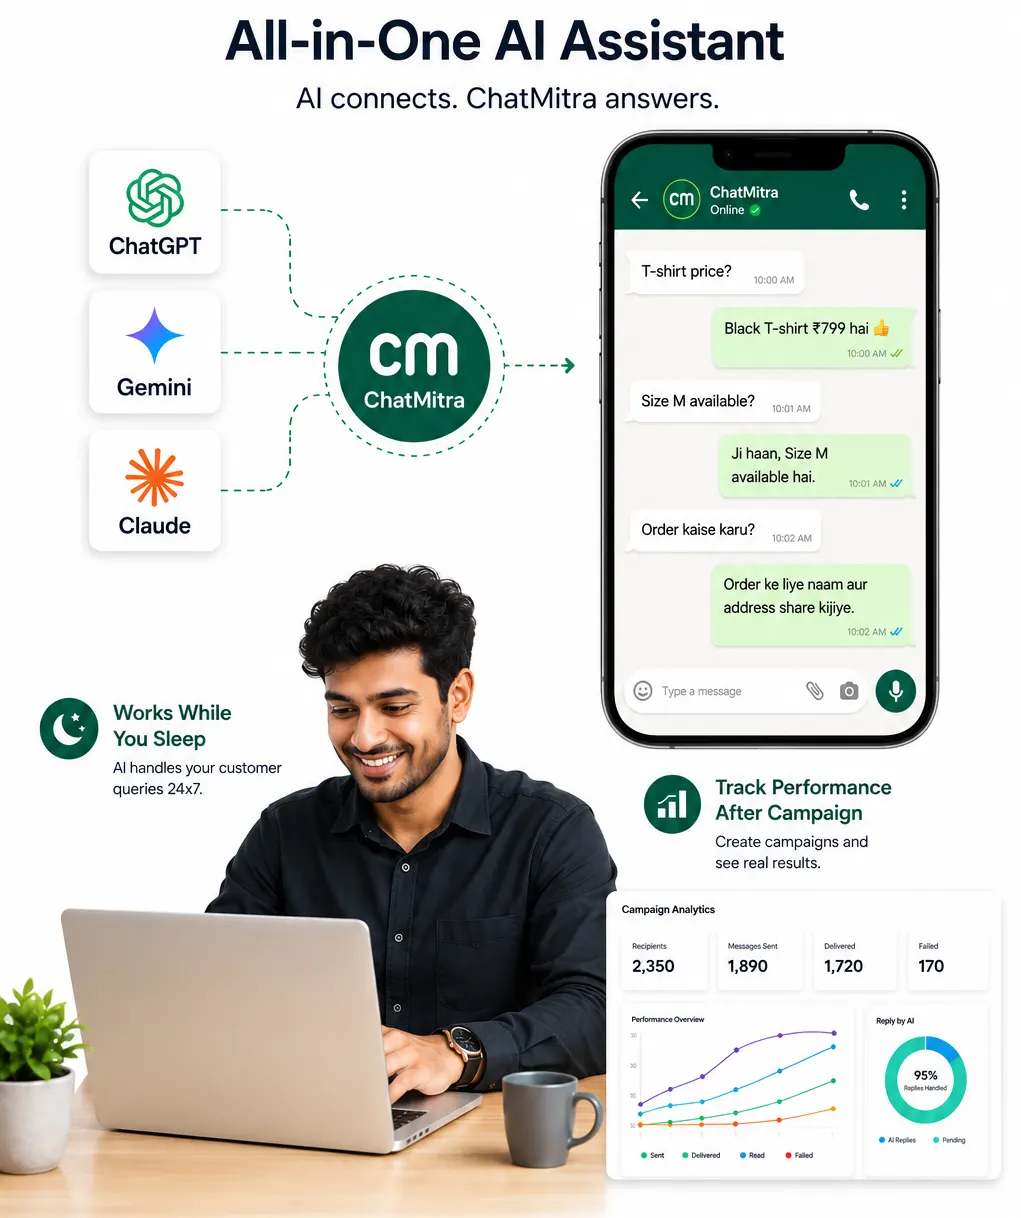
Complaint Management Automation: Log, Route and Escalate Every Customer Complaint

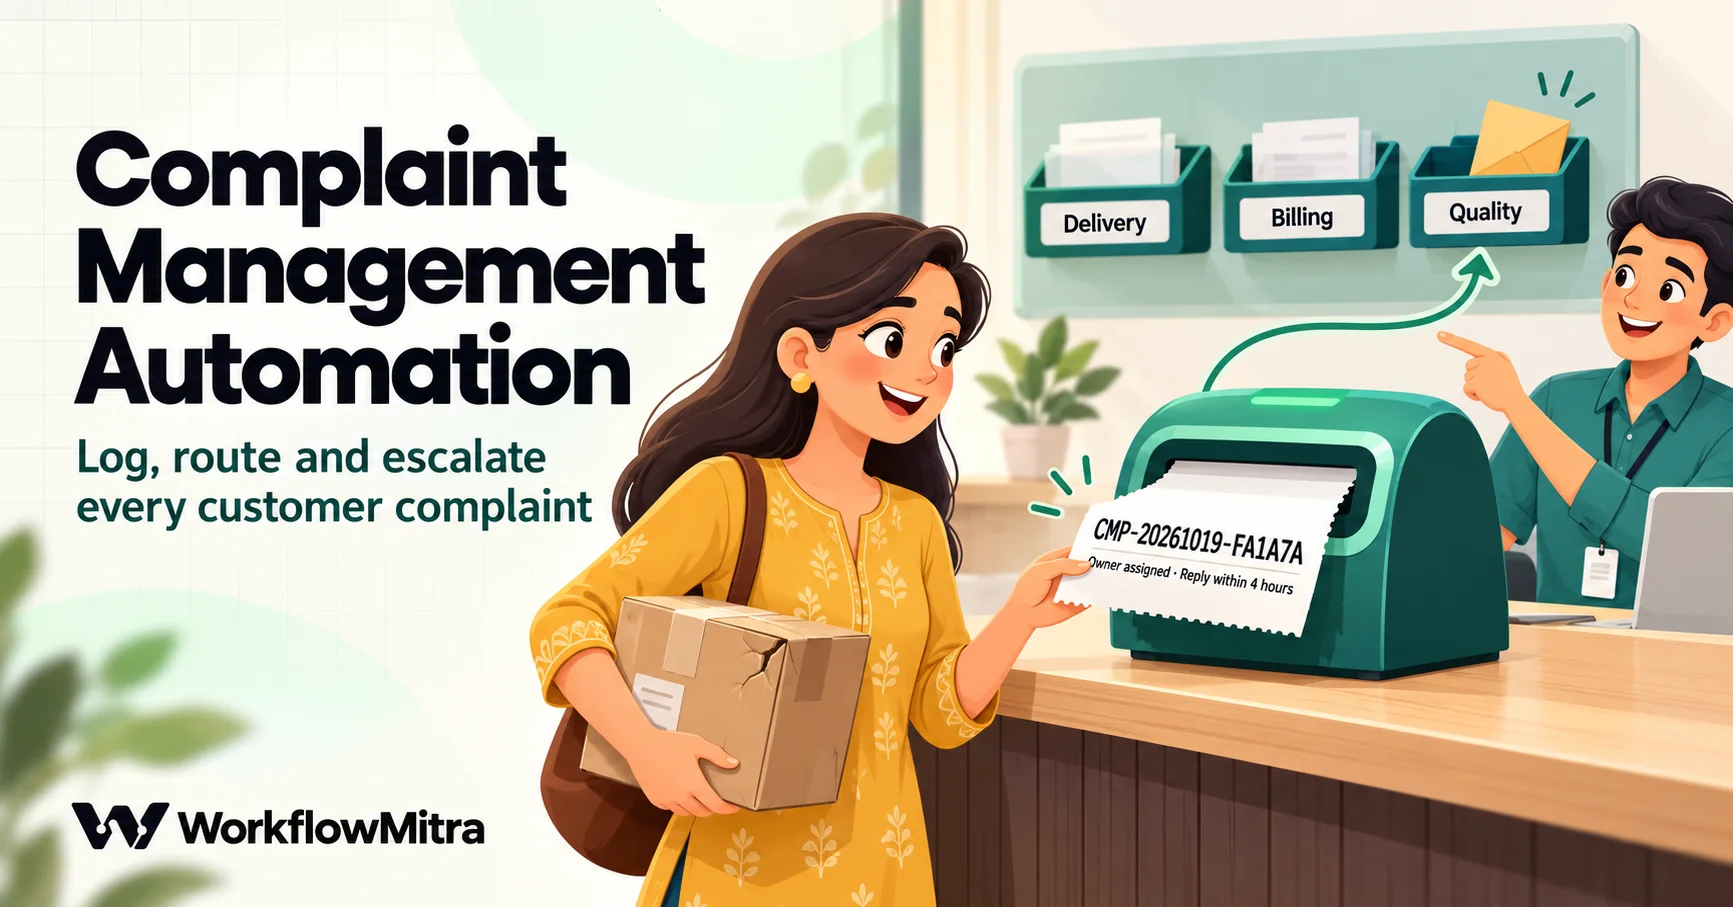
Quick Summary
Complaint management automation means every customer complaint is captured in one log, given a reference number, sorted by severity, assigned to an owner and escalated automatically if nobody acts in time. A small business can do this without helpdesk software, using a form or a mailbox, a Google Sheet as the complaint log and four workflows: intake (log the complaint, assign it and acknowledge it straight away), an escalation check that runs every hour and raises missed deadlines one level at a time, customer updates whenever the status changes, and a monthly report of causes. Agree the severity levels and response targets before you build, because the workflow only enforces rules you have written down. In India, online sellers covered by the Consumer Protection (E-Commerce) Rules, 2020 must acknowledge complaints within 48 hours and resolve them within a month, which makes timed escalation especially useful. In WorkflowMitra, powered by ChatMitra, IF, Switch, Set Variable and Delay steps cost no credits, so a typical complaint costs about five credits to log, assign and acknowledge.
A customer emails on Monday about a damaged order. Someone reads it on the shared inbox, means to forward it to the warehouse, and gets pulled into something else. On Thursday the customer writes again, angrier, and this time copies your public support address and a review site. Nobody was careless. The complaint simply had no owner, no deadline and no record that anyone could check.
Most small businesses handle complaints this way: in inboxes, chat threads and memory. This guide shows how to replace that with a small, reliable system. Each complaint is logged with a reference number, sorted by severity, assigned to a named person, acknowledged straight away and escalated if it stalls. The examples use WorkflowMitra, powered by ChatMitra, with a Google Form and a Google Sheet, but the design works in any automation tool with a form or mailbox trigger, routing, a sheet step and a schedule.
Quick answer: Complaint management automation captures every complaint in one log, gives it a reference number, sets its severity and deadlines, assigns an owner and acknowledges the customer within minutes. An hourly check escalates anything that misses its respond-by or resolve-by time, one level at a time. A third workflow updates the customer whenever the status changes, and a monthly report shows which causes to fix. Write down your severity levels and targets first; the workflows only enforce rules you have agreed.
What complaint management automation does (and doesn’t)
A complaint passes through the same stages whatever the business: it arrives, someone records it, someone decides how serious it is, someone owns it, the customer hears back, the problem is fixed, and the cause is noted so it happens less often. ISO 10002, the international guideline for complaints handling, describes the same lifecycle and includes an annex aimed specifically at small businesses.
Automation is good at the stages that are pure bookkeeping:
- Capture: every complaint lands in the same log, whatever channel it came from.
- Numbering: each one gets a unique reference the customer can quote.
- Triage: clear rules decide the category, severity and deadlines.
- Assignment: an owner is picked from the right team without anyone choosing.
- Acknowledgement: the customer hears back within minutes, with the reference number.
- Escalation: missed deadlines reach a lead, then a manager, without anyone remembering to check.
- Updates and reporting: customers hear about status changes, and the owner sees monthly patterns.
What it can’t do is the actual work: understanding what went wrong, deciding on a refund or a replacement, and talking to an upset customer. The system’s job is to make sure a person does that work on time, with the facts in front of them.
Why complaints slip through without a system
When we look at how small teams lose complaints, the same four gaps come up.
No single front door. Complaints arrive by email, WhatsApp, phone, marketplace messages and social comments. Each channel has its own inbox, so there’s no list of “everything open right now”.
No owner. A complaint that “the team” is handling has no owner. Shared inboxes make this worse: everyone assumes someone else replied.
No clock. Without a written response target, “we’ll get to it” quietly becomes three days. Nobody notices until the customer chases.
No memory. Once a complaint is fixed, it disappears into an email thread. Six months later, nobody can say whether late deliveries or billing errors cause more complaints, so nothing changes.
The workflows in this guide close each gap: the form and the log are the front door, assignment gives an owner, deadlines and the hourly check are the clock, and the log plus the monthly report are the memory. If your problem is internal requests (IT, facilities, purchases) rather than customer complaints, our guide to internal request intake uses a similar structure for colleagues instead of customers.
Write the rules first: a severity matrix
Automating unclear rules just makes unclear decisions faster. Before building anything, agree three things with whoever handles complaints: the categories, the severity of each, and the response and resolution targets for each severity.
Here is a starting matrix for a small online seller. Change the categories and hours to fit your business; the structure is what matters.
| Severity | Typical complaints | First response within | Resolve within | Who hears about it immediately |
|---|---|---|---|---|
| Critical | Safety or injury, a legal notice, a threat to go public, data shared with the wrong person | 1 hour | 1 day | Owner and the business owner |
| High | Damaged or wrong item, charged twice or the wrong amount | 4 hours | 2 days | Owner and team lead |
| Medium | Late or missing delivery | 8 hours | 5 days | Owner |
| Low | Service or staff behaviour, anything else | 24 hours | 10 days | Owner |
Three points make the matrix work in practice.
Severity follows impact, not volume of shouting. A polite note about a wrong charge is more urgent than an angry message about a slow reply. A single “safety or legal issue” question on the form lets the customer flag the cases that must jump the queue.
Targets are working promises, not ideals. Pick numbers the team can meet on a bad week. A target missed every day teaches everyone to ignore alerts.
Know your legal floor. If you sell online in India, check whether the Consumer Protection (E-Commerce) Rules, 2020 apply to you. They require covered e-commerce entities to appoint a grievance officer who acknowledges a complaint within 48 hours and redresses it within one month of receipt. Marketplace and inventory e-commerce entities must also give the consumer a ticket number for each complaint to track its status. Your internal targets should sit well inside those limits. This guide isn’t legal advice; check the current text and how it applies to your business model.
Set up the complaint log
The log is a Google Sheet with two tabs. Form responses belongs to Google Forms; nobody edits it. Complaints is where the team works. Create the Complaints tab with these headers in row 1, in this order:
ComplaintID, ReceivedAt, Channel, Name, Email, Phone, OrderRef, Category, Severity, Details, Owner, OwnerName, Status, RespondBy, ResolveBy, EscalationLevel, Resolution, ResolvedAt, RootCause
Use a small, fixed set of status words and add them as a dropdown on the Status column so nobody types “in-progress” or “done!!”: Open (logged, nobody has contacted the customer yet), In progress (the owner has made first contact), Waiting for customer, Resolved and Closed. Add a dropdown for RootCause too, with causes you can act on, such as Packing, Courier, Payment gateway, Product defect, Staff and Other.
On the Google Form, ask only for what the team needs to start: name, email, phone (for WhatsApp updates), order or invoice number, a dropdown “What went wrong?” with your categories, a Yes/No question “Is this about safety, injury or a legal issue?” and a paragraph for details. Make the dropdown and the Yes/No question required. Every free-text field you replace with a choice is one less thing to interpret.
Workflow 1: log, assign and acknowledge every complaint
This is the workflow that runs once per complaint. Build it, test it against a copy of the sheet, then switch it on.
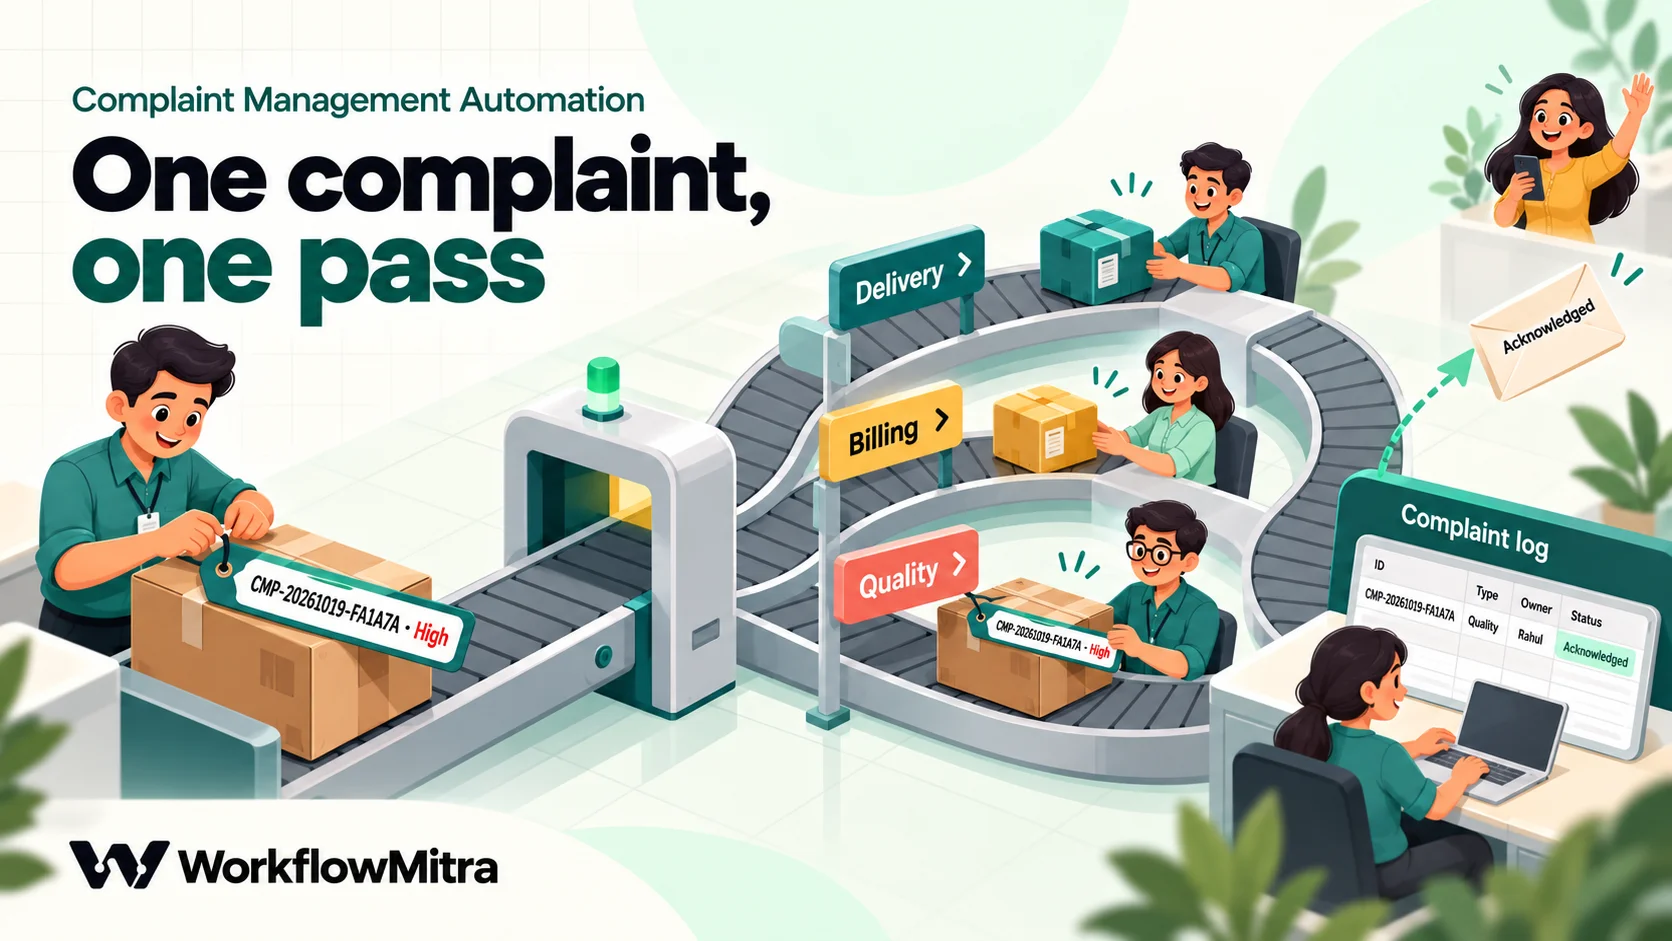
Trigger: Google Sheets, “A row is added”. Point it at the Form responses tab. The trigger checks the sheet every five minutes by default, and you can lower that to one minute. A check that finds nothing new costs no credits. Each form question becomes a field named after its question, such as
{{ $trigger["What went wrong?"] }}.Set Variable, named “Triage”. This step turns the form answers into the decisions in your matrix. Add two fields:
team:{{ switch($trigger["What went wrong?"], "Damaged or wrong item", "Quality", "Charged twice or wrong amount", "Billing", "Late or missing delivery", "Delivery", "General") }}severity:{{ switch($trigger["Is this about safety, injury or a legal issue?"], "Yes", "Critical", switch($trigger["What went wrong?"], "Damaged or wrong item", "High", "Charged twice or wrong amount", "High", "Late or missing delivery", "Medium", "Low")) }}
The last value in each
switch()is the fallback, so a new dropdown option nobody mapped yet becomes “General” and “Low” rather than a blank. Separate the arguments with commas. The function list shows semicolons in its signatures, but semicolons make the expression come out empty at run time.Switch: route by team. Add one route per team with the rule
{{ team }}Equal toQuality(thenBilling,Delivery). Switch takes the first route that matches; anything else goes down the Default route, which handles “General”. A Switch can hold up to 20 routes, and it costs nothing to run.Assign to the next person, one per route. On each route, add an Assign step listing that team’s members, with each person’s email as their value. Assign rotates through the list in strict order and remembers its position between runs, so complaints spread evenly. For a one-person team, list one person. Our guide to round-robin assignment explains the rotation in detail. Assign doesn’t notify anyone by itself; the later steps do.
Set Variable, named “Complaint”. Connect all the Assign steps to this one step. Only one route runs per complaint, so it always receives exactly one owner. Add these fields:
complaintId:CMP-{{ formatDate(now(), "YYYYMMDD") }}-{{ upper(substring(uuid(), 0, 6)) }}, which gives a code such asCMP-20261019-FA1A7AreceivedAt:{{ now() }}respondBy:{{ addHours(now(), switch($node["Triage"].severity, "Critical", 1, "High", 4, "Medium", 8, 24)) }}resolveBy:{{ addHours(now(), switch($node["Triage"].severity, "Critical", 24, "High", 48, "Medium", 120, 240)) }}owner:{{ assignedTo }}andownerName:{{ assignedName }}
Generate the reference number here, once. If you put
uuid()in several steps, each one creates a different code. The date tokens are upper case (YYYYMMDD); a lower-caseyyyystays as literal text.now()andaddHours()produce ISO times in UTC, such as2026-10-21T06:22:21.561Z, which is exactly what the escalation check needs. The targets above are clock hours, not business hours; if your team doesn’t work nights, either accept that or set longer targets for complaints that arrive after hours.Google Sheets, “Add row(s)”, on the Complaints tab. Map each column in order:
{{ complaintId }},{{ receivedAt }},Form,{{ $trigger["Name"] }},{{ $trigger["Email"] }}, and so on. TakeCategoryfrom{{ $trigger["What went wrong?"] }},Severityfrom{{ $node["Triage"].severity }}, setStatustoOpenandEscalationLevelto0. Two settings matter here. Set Write values to Exactly as written, so Google Sheets keeps the ISO times as text and doesn’t turn a phone number starting with+into a formula. And remember that the mapping is saved by column position: if you add a column later, add it at the end of the tab, then reopen and re-save this step.Email: acknowledge the customer. Send to
{{ $trigger["Email"] }}with the subjectYour complaint {{ $node["Complaint"].complaintId }} is logged. In the message, apologise once, restate what they told you, name the owner, and say when they’ll hear back in plain words (“within 4 hours” for High, “by the end of the next working day” for Low). Writing the promise in words avoids time-zone confusion: date formatting uses the server’s clock, which may not be India time.Email or Slack: tell the owner. Send
{{ $node["Complaint"].owner }}the reference number, severity, category, order number, the customer’s words and a link to the Complaints tab. If your team lives in Slack, post to the team channel instead.IF: Critical? One rule:
{{ $node["Triage"].severity }}Equal toCritical. On the true route, send a second alert to the business owner. The Else route simply ends.
From step 6 onwards, the examples use $node["Complaint"], $node["Triage"] and $trigger rather than plain field names. That’s deliberate. A plain {{ field }} reads only the output of the step immediately before, so after the Sheets step has run, earlier values are reached through the step that created them.
Test before switching on. Running the workflow from the editor is a live run: it writes real rows and sends real emails. Work on a copy of the spreadsheet with your own address as the “customer”, submit one complaint per category plus one with the safety question answered Yes, and check the row, the reference number, both deadlines and every message. Our guide to testing a workflow has a fuller checklist.
Complaints that arrive by email
Many complaints never touch a form. To log emailed complaints in the same sheet, build a second intake workflow that starts with the Gmail trigger on your support address. The Gmail trigger includes the message body; the generic Email (IMAP) trigger only provides the sender, subject and date, so with IMAP you’d need an extra “Get an email (with body)” step.
Free text has no dropdown, so add an AI step after the trigger. Ask it to return JSON with category (exactly one of your categories, or Unclear), orderRef and a one-line summary, and to reply with the JSON only. Downstream, read {{ json.category }}. If the reply isn’t clean JSON, json is empty, so put an IF Is empty check before the Switch and send those emails to a person. Our guides to AI email classification and sentiment analysis cover prompts and accuracy checks. AI steps in WorkflowMitra use your own API key with the provider you choose. From the Switch onwards the workflow is the same as the form version, with Channel set to Email.
WhatsApp complaints are best handled where the conversation happens. If customers message you on WhatsApp, a shared WhatsApp inbox such as ChatMitra’s customer-service setup keeps the chat with the agent, and the agent can log the complaint with the same form so it enters the same log.
Workflow 2: escalate missed deadlines, one level at a time
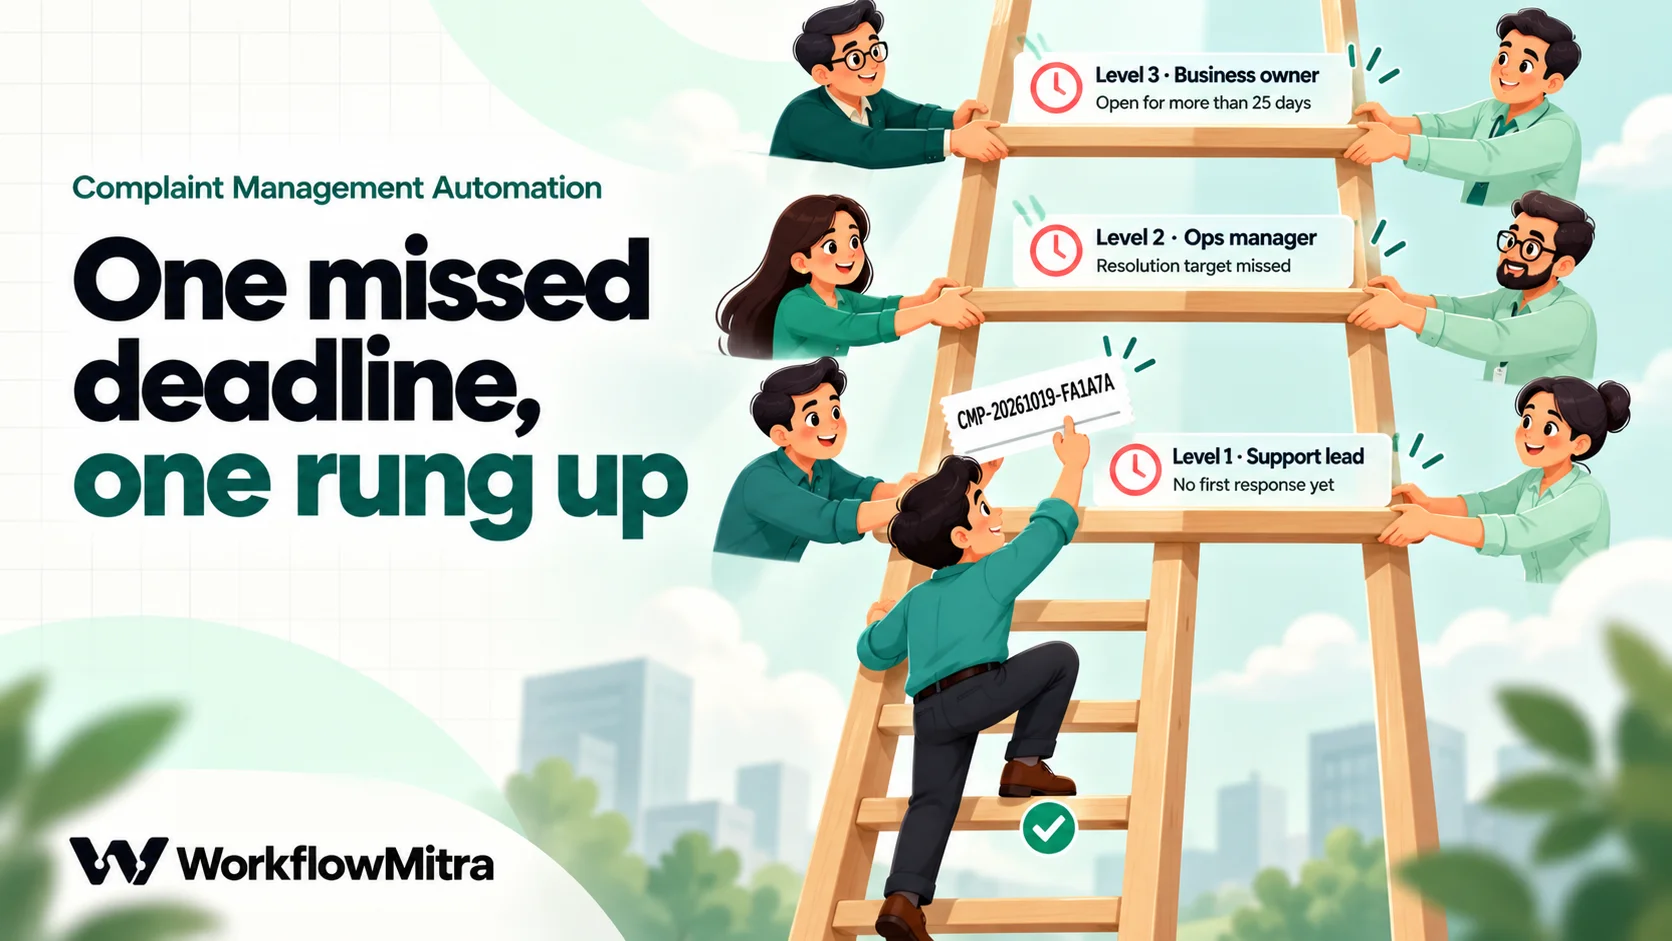
Deadlines only work if something notices when they pass. This second workflow runs on a schedule, reads the log, and escalates any open complaint that has missed a deadline. It uses three levels:
| Level | Condition | Who is alerted |
|---|---|---|
| 1 | Status is still Open after the respond-by time: nobody has contacted the customer | Support lead |
| 2 | Open or In progress after the resolve-by time | Operations manager |
| 3 | Still open 25 days after it was received, leaving a buffer before a one-month limit | Business owner |
Build it like this:
Trigger: Schedule. Every hour, during the hours your team works. Set the time zone first, then the schedule; our guide to scheduling automations covers custom schedules.
Google Sheets, “Read rows” from the Complaints tab. It reads up to 5,000 rows by default, starting below the header. When the log grows past that, move closed complaints to an archive tab each quarter.
Code: find complaints to escalate. The Code step receives the rows as
input.rowsand returns only the complaints that need a new level:
const now = Date.now();
const DAY = 86400000;
const contacts = ['', '[email protected]', '[email protected]', '[email protected]'];
const isIso = (v) => /^\d{4}-\d{2}-\d{2}T/.test(String(v));
const out = [];
for (const r of input.rows) {
  if (r.Status !== 'Open' && r.Status !== 'In progress') continue;
  const level = Number(r.EscalationLevel) || 0;
  let next = level;
  let reason = '';
  if (![r.ReceivedAt, r.RespondBy, r.ResolveBy].every(isIso)) {
    next = Math.max(next, 1); reason = 'A date in this row is unreadable';
  } else {
    if (r.Status === 'Open' && Date.parse(r.RespondBy) < now) { next = Math.max(next, 1); reason = 'No first response yet'; }
    if (Date.parse(r.ResolveBy) < now) { next = Math.max(next, 2); reason = 'Resolution target missed'; }
    if (now - Date.parse(r.ReceivedAt) > 25 * DAY) { next = 3; reason = 'Open for more than 25 days'; }
  }
  if (next > level) out.push({ ...r, NewLevel: next, EscalateTo: contacts[next], Reason: reason });
}
return out;
Replace the three addresses with your own. We ran this script against sample rows: an Open complaint past its respond-by time comes back at level 1, one past its resolve-by time at level 2, one older than 25 days at level 3, and a complaint already at level 1 is not returned again until it misses the next deadline. A row whose dates aren’t ISO text (for example, a date someone retyped by hand) is escalated to level 1 with the reason “A date in this row is unreadable”, so a broken row gets fixed instead of silently never escalating. “Waiting for customer” pauses escalation, which is usually what you want; change the status list at the top if it isn’t.
Loop over the Code step’s output. Leave List field empty, because the Code step returns a bare list, and set Empty list behavior to Skip so quiet hours end without fuss.
Email (or Slack), the first step inside the loop, to
{{ $trigger.EscalateTo }}:Escalation level {{ $trigger.NewLevel }}: {{ $trigger.ComplaintID }} ({{ $trigger.Severity }}, {{ $trigger.Category }}). Reason: {{ $trigger.Reason }}. Owner: {{ $trigger.OwnerName }}.Include the customer’s details and a link to the sheet so the person can act without searching. Inside a loop body,$triggermeans the current item, which is why it’s used here.Google Sheets, “Update row”, after the alert, still inside the loop. Match
ComplaintIDto{{ $trigger.ComplaintID }}and setEscalationLevelto{{ $trigger.NewLevel }}. The order matters. If the alert fails, the run stops before the level is saved, so the next hourly check tries again. If you saved the level first, a failed alert would never be retried. The worst case with this order is that a failed save repeats an alert an hour later, which is noisy but visible.
Filtering in the Code step before the loop keeps the check cheap. A loop costs one credit per item, so looping over every row and testing each one with an IF would cost one credit per complaint in the log, every hour. With the filter in front, an hour with nothing overdue costs the trigger, the read and a fraction of a credit for the script.
Why not a Delay after each complaint?
You could add a Delay of four hours after the acknowledgement, then check the row and escalate. It works for simple cases, but it has three drawbacks for complaints. A waiting run can’t be cancelled and keeps the workflow version it started with, so a rule change doesn’t reach complaints already waiting. A Delay is a fixed number set when you build the step, so each severity needs its own Delay on its own route. And waits stop at 30 days. If you do use one, always look the row up again after the wait and check its status before escalating; our guide to delays and waits explains why. For complaint deadlines, the hourly check is simpler to change and easier to trust.
Workflow 3: keep the customer updated as the status changes
Customers chase when they hear nothing. A third workflow sends an update each time the owner changes the status in the log, so the sheet the team already works in drives the messages.
Trigger: Google Sheets, “One column changes”. Point it at the Complaints tab, set ID column to
ComplaintID(with “Use column headers as IDs of the columns” on) and Columns to watch toStatus. Edits to other columns, including the escalation level written by Workflow 2, won’t start it. The trigger passes the whole row, so{{ Status }},{{ Email }}and{{ ComplaintID }}are available directly. It doesn’t pass the previous value, and it fires on any change to the column, including a status set back by mistake.Switch: route by status. One route each for
In progress,Waiting for customerandResolved. LeaveOpenandClosedon the Default route with nothing attached, so they send nothing.One message per route. Each message goes to
{{ $trigger.Email }}and carries the reference number:- In progress: ”{{ $trigger.OwnerName }} is looking into complaint {{ $trigger.ComplaintID }} and will update you within two working days.”
- Waiting for customer: ask for exactly what’s missing, such as a photo of the damaged item.
- Resolved: state what was done, using the
Resolutioncolumn, and tell the customer how to reopen the complaint if the fix didn’t work.
On the Resolved route, record the time. Add Google Sheets, “Update row” matching
ComplaintIDto{{ $trigger.ComplaintID }}, settingResolvedAtto{{ now() }}with Write values Exactly as written. Because the trigger watches onlyStatus, this write doesn’t start the workflow again.
To send these updates on WhatsApp instead of email, use the WhatsApp step with ChatMitra or the Meta Cloud API as the sending layer. A complaint update usually goes out more than 24 hours after the customer last messaged you, and outside WhatsApp’s 24-hour customer service window a business can only send an approved template, so create a utility template for each update with the reference number as a variable. The step’s To field needs the full number with country code (for example 919876543210) and doesn’t add one for you; our guide to formatting phone numbers shows how to clean them first. Current WhatsApp message charges are on ChatMitra’s pricing page.
When a complaint needs a decision: refunds and goodwill
Some resolutions cost money: a refund, a replacement, a discount on the next order. If you want a second pair of eyes on those, add an approval to the Resolved path, or better, a small separate workflow the owner triggers when proposing compensation.
Use the Wait for approval step. In What are they approving? write something like Refund ₹{{ Amount }} on {{ ComplaintID }}?, and in Show them put the category, order number, the customer’s words and the owner’s proposed fix. Set If nobody answers within to 24 hours and keep the default of treating no answer as “no”. Follow it with an IF on {{ approved }} Is yes.
Two details shape how you set this up. Approval alerts go to the workspace’s alert email and Slack webhook, not to a person named in the step, so add a direct message to the approver just before it if one person should decide. And approving happens on the app’s Approvals page, by any workspace member with the Member role or above. Our guide to approval workflows covers limits, timeouts and audit trails.
Workflow 4: a monthly report that prevents the next complaint
A complaint log only pays off when someone reads it. Once a month, send the owner a short summary: how many complaints arrived, which categories led, and how many were resolved on time.
- Trigger: Schedule, on the first working day of the month.
- Google Sheets, “Read rows” from the Complaints tab.
- Code: summarise the last 30 days.
const DAY = 86400000;
const since = Date.now() - 30 * DAY;
const recent = input.rows.filter(r => Date.parse(r.ReceivedAt) >= since);
const byCategory = {};
let closed = 0, onTime = 0;
for (const r of recent) {
  byCategory[r.Category] = (byCategory[r.Category] || 0) + 1;
  if (r.Status === 'Resolved' || r.Status === 'Closed') {
    closed++;
    if (Date.parse(r.ResolvedAt) <= Date.parse(r.ResolveBy)) onTime++;
  }
}
const lines = Object.entries(byCategory)
  .sort((a, b) => b[1] - a[1])
  .map(([name, n]) => '• ' + name + ': ' + n);
return {
  total: recent.length,
  closed,
  onTimePercent: closed ? Math.round(onTime / closed * 100) : 0,
  summary: lines.join('\n')
};- Email the owner:
{{ total }} complaints in the last 30 days, {{ closed }} resolved, {{ onTimePercent }}% on time.followed by{{ summary }}.
Extend the script to tally RootCause the same way once the team fills it in consistently. That’s the number that changes behaviour: “Courier: 14” is an argument for a different courier, and “Packing: 9” is a reason to change the packing material. The monthly meeting about complaints should take ten minutes and end with one fix.
What it costs to run
In WorkflowMitra, a credit is one executed step. IF, Switch, Set Variable and Delay steps are free, Code is billed by run time (a few milliseconds costs a small fraction of a credit), a Loop costs one credit per item, and most other steps cost one credit. Here is a realistic month for a shop receiving 200 complaints:
| Workflow | Credits per run | Runs per month | Credits per month |
|---|---|---|---|
| 1. Intake (trigger, Assign, Add row, acknowledgement, owner alert) | About 5 (6 for Critical) | 200 | About 1,000 |
| 2. Hourly escalation check, 10 hours a day, 26 days | About 2, plus 3 per escalation | 260 checks, about 40 escalations | About 640 |
| 3. Status updates (trigger and one message; 3 on Resolved) | 2 to 3 | About 600 status changes | About 1,400 |
| 4. Monthly report | About 3 | 1 | About 3 |
| Total | About 3,000 |
That fits within the 10,000-credit Starter plan, ₹999 a month on the pricing page on 19 October 2026. AI steps, if you use them for emailed complaints, cost one credit each in WorkflowMitra plus your provider’s charge on your own API key. WhatsApp updates add Meta’s per-message charge and the sending provider’s fee.
Common mistakes
- Building before agreeing severity and targets. The workflow will enforce whatever numbers you type, including ones nobody agreed to.
- Free-text categories. “Delivery issue”, “late”, “courier problem” and “not received” are four labels for one cause. Use a dropdown.
- Generating the reference number in more than one step. Each
uuid()call is different. Create it once and pass it along. - Letting Sheets reformat the times. With Write values “Like typing it in”, Google Sheets may convert values as if you typed them. Use “Exactly as written” for the time columns.
- Saving the escalation level before the alert. If the alert then fails, the complaint is marked as escalated but nobody was told, and the check never tries again.
- Escalating everything to everyone. Three levels with one named person each beat a channel that pings ten people.
- No root cause. Without it, the log records complaints but never reduces them.
- Testing on the live sheet. Editor runs are live. Use a copy of the spreadsheet and your own address.
Troubleshooting
The intake workflow doesn’t start. The Sheets trigger records the existing rows on its first check and fires only for rows added after that, so submit a fresh test response. Check that it watches the Form responses tab, not Complaints.
The reference number shows literal text like yyyy. Date tokens are upper case: YYYYMMDD.
A field in an expression comes out empty. Check for semicolons between arguments (use commas), for a form question renamed after you built the step, and for a plain {{ field }} used after a step that doesn’t output that field. Our guide to empty values in workflows lists the usual causes.
Escalations repeat every hour. The Update row step isn’t writing EscalationLevel: check that it matches on ComplaintID, that the step is inside the loop after the alert, and that the run history shows it succeeding.
Nothing ever escalates. Look at the RespondBy and ResolveBy cells. If they show a reformatted date rather than text like 2026-10-21T06:22:21.561Z, the Add row step is using “Like typing it in”. Also confirm the Status words in the sheet exactly match the ones in the script, including capitals.
Status emails fire twice. Someone changed the status, then changed it back. The trigger fires on every change; a short “reply if this was a mistake” line in each message covers the rare case.
Start with one channel
You don’t need all four workflows on day one. Start with the form, the log and Workflow 1, so every complaint gets a reference number, an owner and an acknowledgement. Add the hourly escalation check in week two, once the team trusts the log, and the status updates in week three. Run the first monthly report at the end of the month and pick one cause to fix.
If complaints are only part of your support load, our guide to how AI agents automate customer support covers the wider picture, and workflow automation for small business shows where complaints fit among other operations workflows.
When you’re ready to build, start a 14-day WorkflowMitra trial with 10,000 credits and no card, and use your severity matrix as the plan.
Sources: Consumer Protection (E-Commerce) Rules, 2020, G.S.R. 462(E), 23 July 2020, rules 4(5), 5(3)(b) and 7(1)(f), full text reproduced by TaxGuru; ISO, ISO 10002:2018 Guidelines for complaints handling in organizations; Meta, WhatsApp Business Platform pricing (customer service window), checked 19 October 2026. WorkflowMitra step behaviour checked in the product code on 19 October 2026; expressions and both Code scripts were run against sample data.
Frequently Asked Questions
Short answers to common questions about automating customer complaint logging, routing and escalation.
It is the use of workflows to handle the repetitive parts of dealing with customer complaints: capturing each complaint in one place, giving it a reference number, deciding how urgent it is, assigning an owner, acknowledging the customer, chasing missed deadlines and reporting on causes. People still investigate and resolve the complaint; the automation makes sure nothing is lost or forgotten along the way.
Automate the work between your apps
Build workflows with triggers, conditions and actions, then test them before they go live. Try WorkflowMitra free for 14 days, no card required.