Job Dispatch Automation: Assign Field Technicians and Keep Customers Updated

Quick Summary
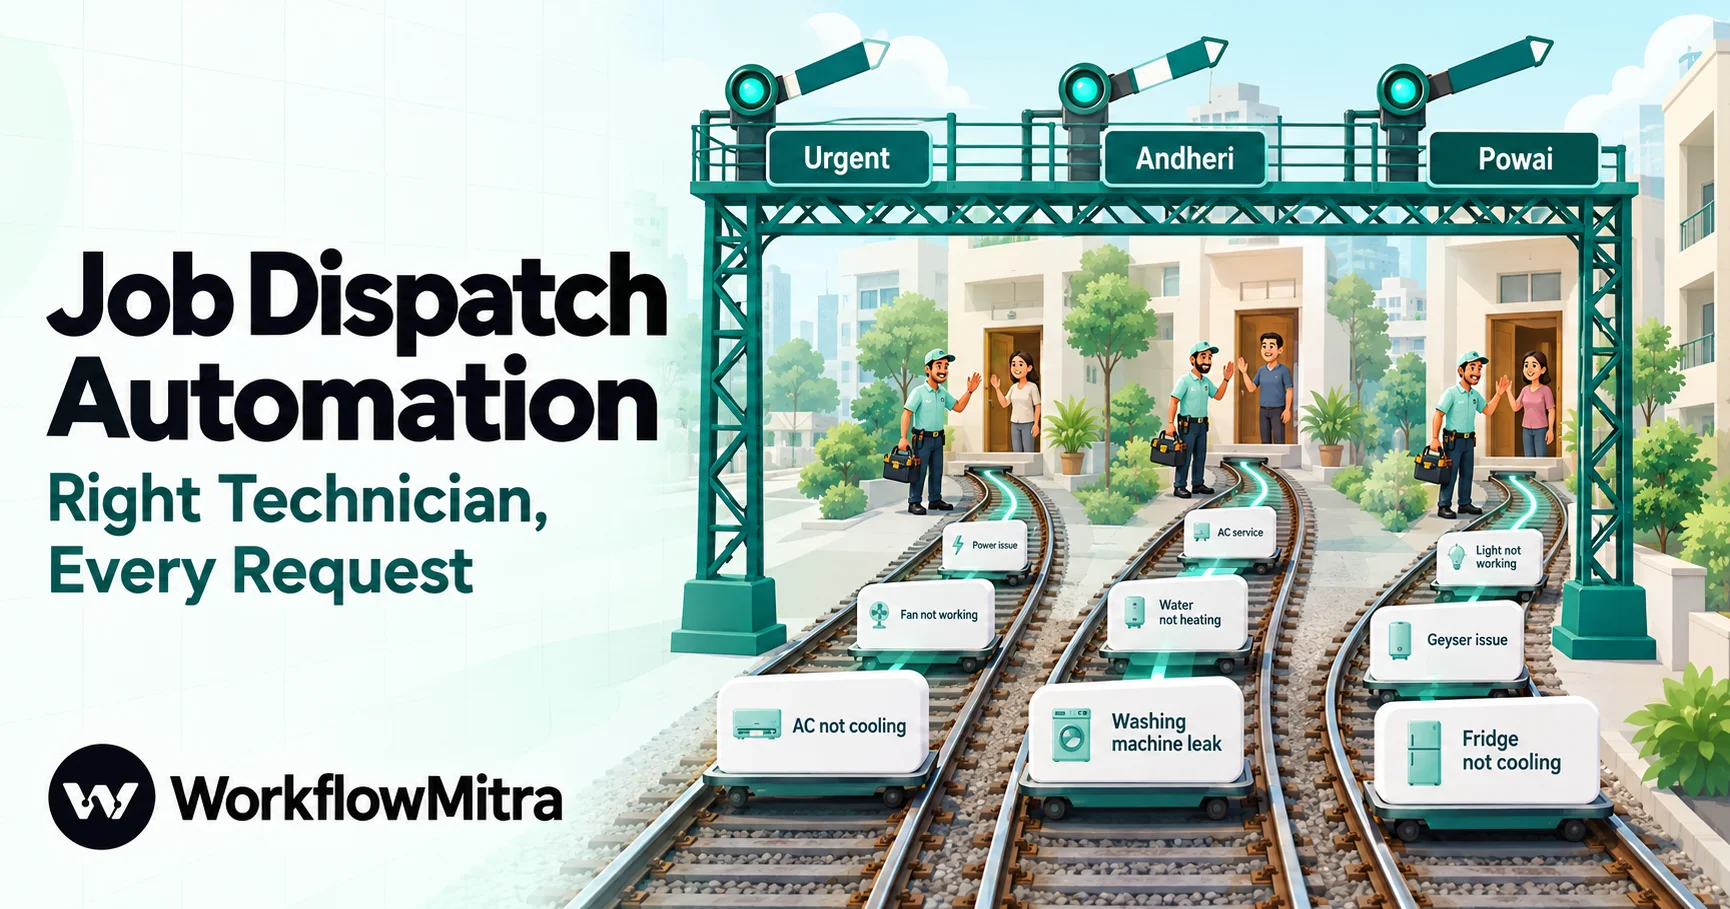
Job dispatch automation sends each incoming service request to a technician without a coordinator retyping it. A practical small-business version has two workflows. The first takes the request from a form, routes it by area with a Switch step, picks the next technician for that area with a round-robin Assign step, logs the job in a Google Sheet, sends the technician the details on Telegram and confirms the request to the customer on WhatsApp, then checks after a set time that the job was accepted and alerts the coordinator if not. The second watches the sheet's Status column and sends the customer an update when a technician marks a job On the way or Completed. In WorkflowMitra, powered by ChatMitra, this costs about ten credits per job. It does not check calendars, skills or GPS location, so teams that need route optimisation or slot scheduling need field service software.
It’s the second week of May in Mumbai, and an AC service business with eight technicians is getting sixty requests a day. Every one of them lands with the coordinator: a form submission, a missed call, a forwarded WhatsApp. She copies the address into the team group, tags whoever is nearest, calls the customer to say someone’s coming, and keeps a mental list of which jobs nobody has picked up. By 4 PM the group has three hundred messages, two customers have been promised the same technician, and one request from the morning has slipped through entirely.
Job dispatch automation takes the copying out of that day. Each request is routed to the right area, given to the next technician in rotation, logged once, sent to the technician and confirmed to the customer, without anyone retyping it. The coordinator handles the exceptions instead of every job. This guide builds that system for a small service team using a form, a Google Sheet, Telegram and WhatsApp, explains exactly where a workflow stops and field service software starts, and shows the check that catches jobs nobody accepted. The steps were checked against WorkflowMitra’s source code on 18 October 2026, and the expressions were run through its template engine on that date.
Quick answer: build two workflows. The first takes each request, routes it by area with a Switch step, gives it to the next technician for that area with an Assign step, logs it as a row in a Google Sheet, sends the technician the details on Telegram, confirms to the customer with a WhatsApp utility template, then waits and escalates to the coordinator if the job is still unaccepted. The second watches the Status column and messages the customer when a technician marks a job On the way or Completed. Cost: about ten credits per job.
What job dispatch automation is (and isn’t)
Job dispatch is the moment a service request becomes a technician’s job: someone decides who goes, tells them, and tells the customer. Dispatch automation makes that decision by rules and sends the messages, so the request reaches the technician in seconds and nothing depends on one person’s memory.
It’s worth separating three things that often get mixed together:
| Task | What it involves | A workflow tool | Field service software |
|---|---|---|---|
| Dispatch | Route each request, pick a technician, notify everyone | Yes | Yes |
| Status updates | Tell the customer when the job moves | Yes, from a status the technician sets | Yes, often from a technician app |
| Escalation | Catch jobs nobody accepted | Yes, with a timed re-check | Yes |
| Scheduling | Book time slots against each technician's calendar | No | Yes |
| Route planning and GPS | Order jobs by distance, track where technicians are | No | Yes |
| Parts and invoicing on site | Stock, quotes, payment collection | Partly, through other steps | Usually |
The table is the honest boundary of this guide. A workflow built in WorkflowMitra, powered by ChatMitra, handles the first three rows well and cheaply. It doesn’t know where a technician is standing, and it doesn’t hold a calendar of who’s free at 3 PM. If your business sells fixed time slots or runs ten jobs per technician per day across a city, the routing problem becomes a scheduling problem, and that’s what field service management software is for.
When a workflow is enough
A dispatch workflow fits best when most of these are true:
- Jobs are routed by area or service type, not by exact distance. “Andheri goes to the western team” is a rule; “whoever is nearest right now” needs location data.
- Customers expect a visit window, such as “today” or “tomorrow morning”, rather than a booked 2:30 slot.
- The team is small enough that a list is fair: two to fifteen technicians per area, sharing jobs in turn.
- Technicians already use a phone and can tap a status in a shared sheet or reply to a bot.
- A coordinator still exists, but you want them handling exceptions rather than every request.
If the coordinator spends their day on a whiteboard of time slots, start with field service software and use a workflow only to connect it to your other tools.
How the dispatch flow fits together
The build has two workflows sharing one Google Sheet, the Jobs tab, which is the single record of every job.
Workflow 1, Intake and dispatch, runs once per request:
- Webhook trigger receives the request from your website form.
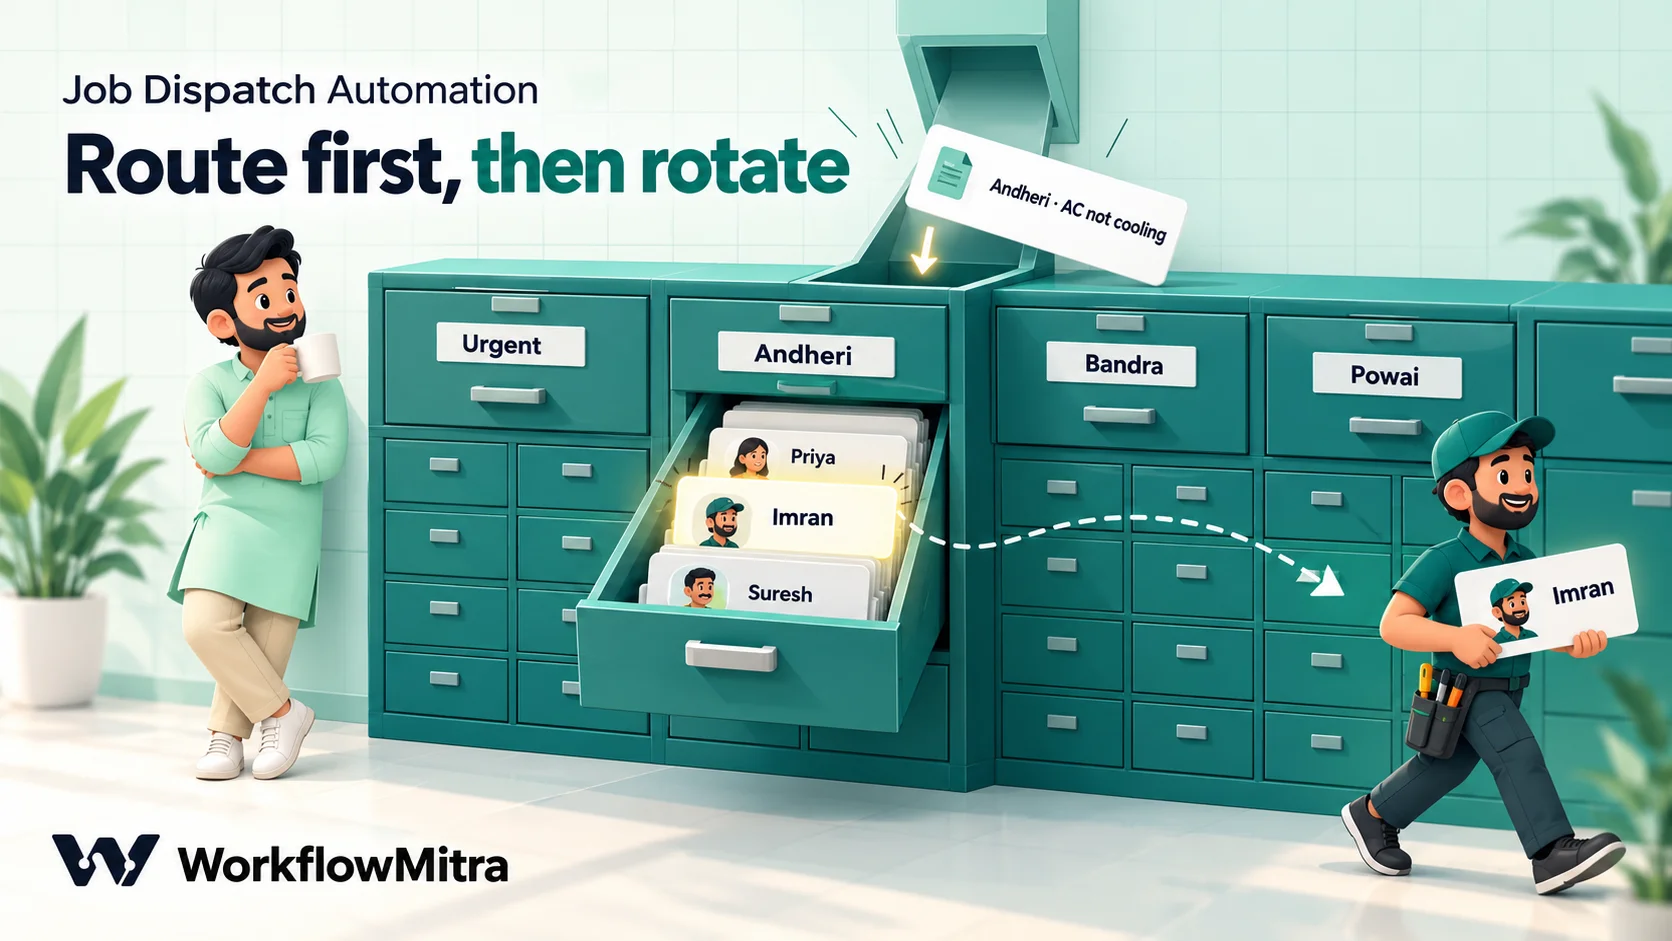
- Switch sends urgent jobs to an on-call route and everything else to an area route.
- Assign to the next person, one per route, picks the technician.
- Set Variable gathers the job’s details under one name, Job, and creates the job ID.
- Google Sheets: Add row(s) logs the job with status Assigned.
- Telegram sends the technician the job.
- WhatsApp confirms the request to the customer with an approved template.
- Delay, then Google Sheets: Find row and IF: if the job is still Assigned after 45 minutes, Telegram alerts the coordinator.
Workflow 2, Status updates, runs whenever a technician changes a job’s status:
- Google Sheets trigger watching the Status column.
- Switch on the new status.
- WhatsApp sends the matching template to the customer.
Before you start: the job sheet and the technicians
Set up the Jobs tab
Create a Google Sheet with a tab called Jobs and these columns, in this order:
| Column | Example | Filled by |
|---|---|---|
| Job ID | J-261018-104512 | Workflow 1 |
| Received | 2026-10-18T05:15:12.402Z | Workflow 1 |
| Customer | Ramesh Iyer | Workflow 1 |
| Phone | 919820012345 | Workflow 1 |
| Area | Andheri | Workflow 1 |
| Service | AC not cooling | Workflow 1 |
| Address | Flat 402, Sea View CHS, Lokhandwala | Workflow 1 |
| Technician | Imran | Workflow 1 |
| Status | Assigned | Workflow 1, then the technician |
The order matters. WorkflowMitra’s Add row(s) step writes values into columns by position, so the step’s list of values must follow the sheet’s columns left to right. Format the Phone column as plain text, so Sheets doesn’t turn the number into a figure.
Make Status a dropdown with Google Sheets’ data validation (Google’s guide to in-cell dropdowns) holding exactly: Assigned, Accepted, On the way, Completed, Rescheduled. A dropdown keeps technicians from typing “on way” or “done ✔”, which no rule would recognise.
Connect the technicians on Telegram
Telegram is a good channel for the technician side: it’s free, works on any phone and handles long addresses well. Create a bot with @BotFather, then have each technician open it and press Start. That step isn’t optional: Telegram’s documentation says “Bots can’t start conversations with users. A user must either add them to a group or send them a message first” (Telegram Bot API). Note each technician’s chat ID; Telegram notifications for business shows how to find it.
You can send technician alerts on WhatsApp instead with WorkflowMitra’s WhatsApp step. The same template rules as for customers then apply to your own team, which is why most small teams keep internal alerts on Telegram.
Prepare the customer templates
Customer messages go out on WhatsApp through ChatMitra or Meta’s Cloud API. Meta lets a business send free-form messages only inside the 24-hour customer service window, so dispatch messages are usually approved utility templates. Since 1 July 2025 Meta charges per delivered template message, and utility templates delivered inside an open customer service window are free (Meta: pricing on the WhatsApp Business Platform). If the customer booked by messaging you on WhatsApp, the confirmation usually falls inside that window.
Submit three templates for approval before you build:
- request_received: “Hi {{1}}, we’ve received your request {{2}} for {{3}}. {{4}} from our team will call you before visiting.”
- technician_on_way: “Hi {{1}}, {{2}} is on the way for job {{3}}.”
- job_completed: “Hi {{1}}, job {{2}} is complete. If anything isn’t working as it should, reply to this message.”
Keep them factual and free of offers, which is what makes them utility rather than marketing. ChatMitra’s guide to WhatsApp utility templates has more examples and approval tips.
Workflow 1: take the request and assign a technician
1. Receive the request
Add a Webhook trigger with the Website form source and point your form at its URL. The form should ask for name, phone, area, service, address and whether it’s urgent. Make area a dropdown, not a free-text box: routing on “Andheri” works; routing on “andheri w, near station” doesn’t.
If your requests come through Google Forms, the same build works with a Google Sheets trigger on the form’s response sheet instead; Google Forms automation covers that start.
Clean the phone number before anything uses it. WorkflowMitra’s WhatsApp step accepts a ten-digit number without the country code and sends it as is, which isn’t what you want; formatting phone numbers to E.164 has a tested expression that adds 91 to Indian numbers and checks the result.
2. Route by urgency, then by area
Add a Switch step with these routes, in this order:
| Route | Rule | Goes to |
|---|---|---|
| Urgent | {{ $trigger.urgent }} Equal to, ignore case Yes | Assign: on-call list |
| Andheri | {{ $trigger.area }} Equal to, ignore case Andheri | Assign: western team |
| Bandra | {{ $trigger.area }} Equal to, ignore case Bandra | Assign: Bandra team |
| Powai | {{ $trigger.area }} Equal to, ignore case Powai | Assign: eastern team |
| Else | Anything that matched nothing | Telegram to the coordinator |
The first matching route wins, which is why Urgent sits at the top: an urgent job in Bandra goes to the on-call technician, not into the Bandra rotation. A route can hold up to ten OR groups, so one route can cover several neighbouring areas (“Andheri” OR “Jogeshwari” OR “Versova”). If you route by PIN code instead, Starts with on the first four or five digits groups nearby codes without listing each one. Switch steps cost no credits.
The Else route is the safety net. A request with a missing or unexpected area goes straight to the coordinator on Telegram with every field, so it’s handled by a person rather than dropped. Conditional logic in automation explains route order and Else in more depth.
3. Pick the technician with Assign to the next person
On each area route, add an Assign to the next person step and list that area’s technicians: the name as it should appear to customers, and the value as the technician’s Telegram chat ID. Each new job on that route goes to the next person on the list, starting again from the top after the last.
Three properties of this step shape how you use it:
- Each Assign step keeps its own rotation. The western team’s turn order is independent of the Bandra team’s, so a busy area doesn’t skip anyone in a quiet one.
- The rotation is atomic. Fifty requests arriving at once each get a different number in the rotation, so two simultaneous jobs never go to the same person by accident.
- It doesn’t know who’s available. The step rotates through a fixed list of up to 200 people. It doesn’t check calendars, skills, current workload or leave.
That last point is the main limit of this build, and there are three practical answers to it. When someone is on leave, remove them from the list for those days (the rotation reads its position against the current list, so editing it is safe). For specialist work, such as commercial units or gas refills, add a Service rule to the Switch and give that work its own Assign list. And when daily availability changes too often to edit lists, replace Assign with a Roster tab holding one on-duty technician per area, and look it up with Google Sheets Find row on the area. Find row expects exactly one matching row, so keep one row per area and update it each morning. Round-robin lead assignment goes deeper on rotation fairness.
4. Gather the job under one name
Connect every Assign step to the same Set Variable step and rename it Job. Only one route runs for each request, so this step always receives exactly one technician. Add these fields:
| Field | Value |
|---|---|
| jobId | J-{{ formatDate(now(), "YYMMDD-HHmmss") }} |
| techName | {{ assignedName }} |
| techChat | {{ assignedTo }} |
This step matters more than it looks. Each route has its own Assign step with its own name, so a later step that referred to “Assign: western team” would come up empty for a Bandra job. Set Variable keeps everything it receives (the request’s fields and the technician’s) and adds the new fields, so from here on every step reads one place: {{ $node["Job"].techName }}, {{ $node["Job"].jobId }}, {{ $node["Job"].phone }} and so on. Set Variable costs no credits.
The job ID is built from the date and time, down to the second; run through WorkflowMitra’s template engine, J-{{ formatDate(now(), "YYMMDD-HHmmss") }} gave J-261018-171536. Note that formatDate uses capital YY and DD; lower-case yy and dd aren’t recognised and come out as letters. The time is the server’s clock, not necessarily India time, which is fine for an ID. Two requests in the same second would share an ID, which is rare for a small team; if it’s a risk for you, add the customer’s last four digits to the ID.
5. Log the job
Add a Google Sheets step, operation Add row(s), on the Jobs tab, with Write values set to Exactly as written so phone numbers and IDs stay as text. Map the values in column order: {{ $node["Job"].jobId }}, {{ now() }}, {{ $node["Job"].name }}, {{ $node["Job"].phone }}, {{ $node["Job"].area }}, {{ $node["Job"].service }}, {{ $node["Job"].address }}, {{ $node["Job"].techName }} and the text Assigned. (Use your form’s own field names for name, phone, area, service and address.)
The sheet is now the record. Nothing about the job lives only in a chat.
6. Tell the technician
Add a Telegram step with your bot token, chat ID {{ $node["Job"].techChat }} and a message such as:
New job {{ $node["Job"].jobId }}
{{ $node["Job"].service }}
Customer: {{ $node["Job"].name }}, {{ $node["Job"].phone }}
Address: {{ $node["Job"].address }} ({{ $node["Job"].area }})

Set Status to Accepted in the Jobs sheet when you take it.
The Telegram step sends plain text, which is all a job card needs. Put the address on its own line so it can be copied straight into a maps app.
7. Confirm to the customer
Add a WhatsApp step, choose ChatMitra or Meta’s Cloud API as the sender, pick the request_received template from the list and map its variables: 1 = {{ $node["Job"].name }}, 2 = {{ $node["Job"].jobId }}, 3 = {{ $node["Job"].service }}, 4 = {{ $node["Job"].techName }}. The recipient is {{ $node["Job"].phone }}, already cleaned in step 1.
The customer now knows three things that used to take a phone call: the request arrived, it has a reference, and a named person will call before visiting.
8. Escalate jobs nobody accepted
The last part of the workflow handles the job that sits in a technician’s chat while they’re on a ladder, out of signal or on leave and still on the list.
- Add a Delay of 45 minutes (choose a time that fits your promise to customers).
- Add Google Sheets: Find row on the Jobs tab, looking up
{{ $node["Job"].jobId }}in the Job ID column. Rename it Find job. - Add an IF:
{{ $node["Find job"].row.Status }}Equal toAssigned. - On that route, a Telegram step to the coordinator: “Job {{ $node[“Job”].jobId }} ({{ $node[“Job”].area }}) hasn’t been accepted by {{ $node[“Job”].techName }} after 45 minutes.”
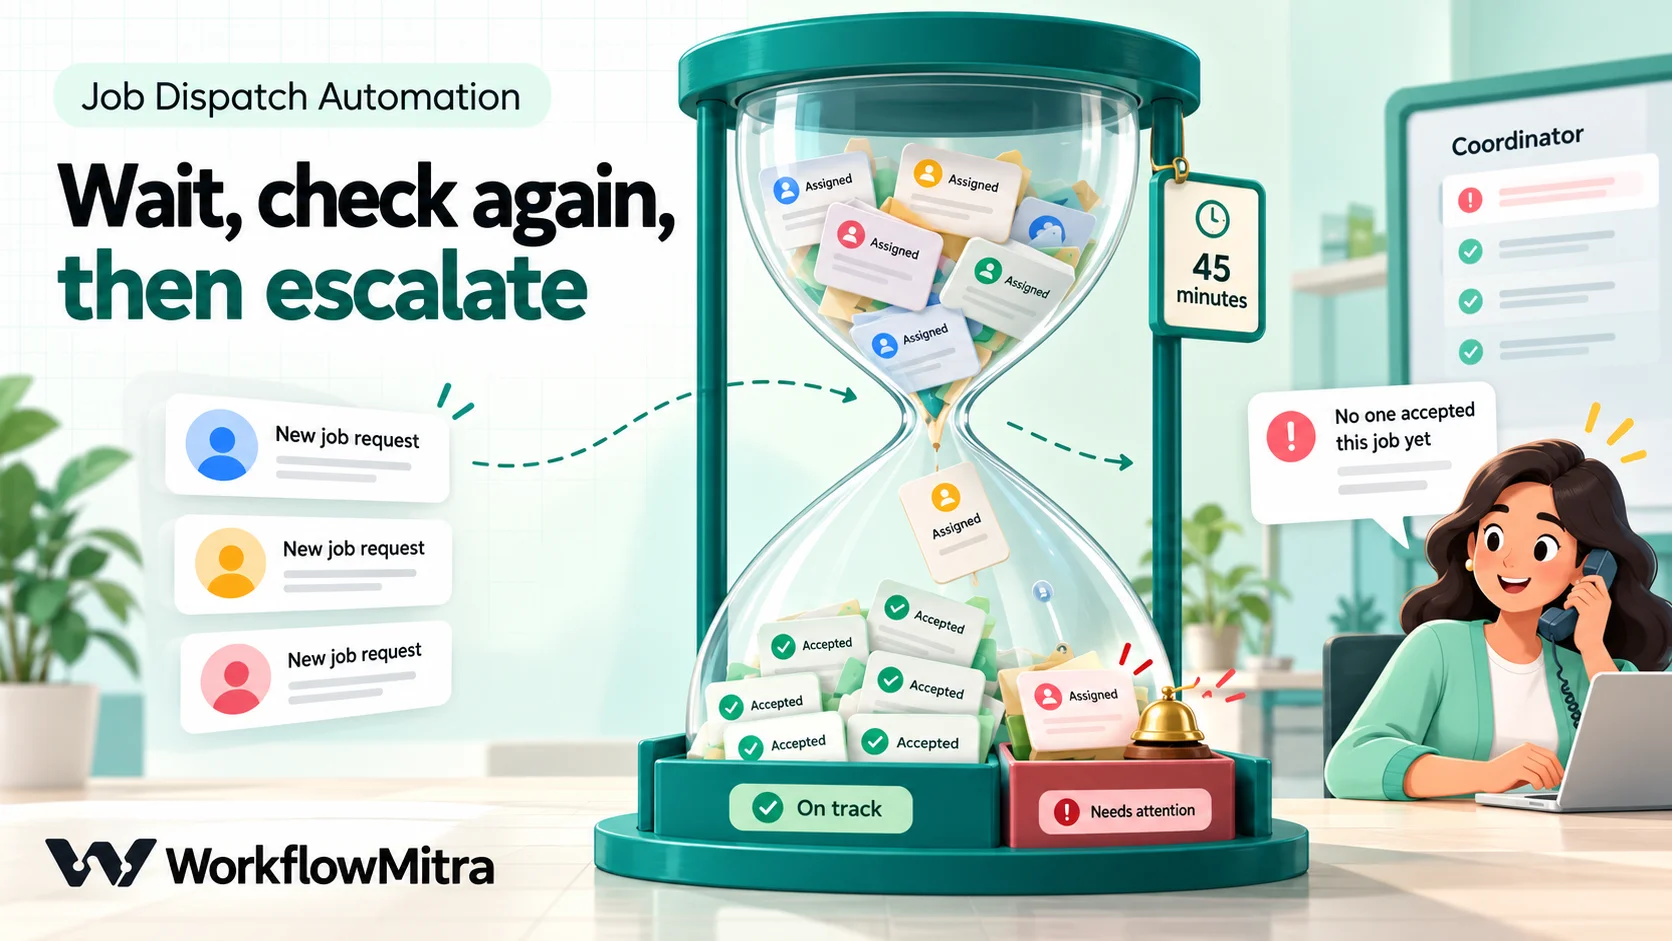
A few things about the Delay step decide how you build around it. It waits a fixed duration that you set in the step; it can’t wait “until a date”. Once a run is waiting, it can’t be cancelled from the app, and switching the workflow off only stops new runs. A waiting run also keeps the version of the workflow it started with, so editing the workflow doesn’t change runs already waiting. That’s exactly why the step after the Delay reads the sheet again instead of trusting what the workflow knew 45 minutes earlier: if the technician accepted the job in the meantime, the IF finds Accepted and the run ends quietly. Keep every message to the technician and customer before the Delay, so nothing waits behind it. The Delay step guide covers waiting runs in detail.
Delay and IF steps are free; the Find row check costs one credit per job.
Workflow 2: keep the customer updated
The technician’s only job in this system is to change one cell. Everything the customer hears follows from that.
1. Watch the Status column
Create a second workflow with a Google Sheets trigger on the Jobs tab. Under Run when, choose One column changes, watch the Status column, and set Job ID as the key column. When a technician changes a job’s status, the workflow receives that whole row, so {{ $trigger.Status }}, {{ $trigger.Customer }}, {{ $trigger.Phone }} and the rest are all available.
Two details about this trigger are worth knowing:
- It checks the sheet on a schedule, every five minutes by default, which you can shorten to one minute. A status change reaches the customer within that interval, not instantly. Checks that find no change cost no credits.
- A brand-new row doesn’t count as a column change. When Workflow 1 adds a job with status Assigned, this trigger doesn’t fire, so customers don’t get a second confirmation. It runs only when someone changes the Status of an existing row. The flip side: a change made before the trigger has first seen the row (within one polling interval of the job being logged) counts as part of the new row and isn’t reported, so ask technicians to set On the way when they actually leave, not the moment the job arrives.
Watching just the Status column (rather than “a row changes”) also means the workflow can’t trigger itself if you later add columns that a workflow writes to, such as a “last messaged” time.
2. Send the matching update
Add a Switch on {{ $trigger.Status }}:
| Route | Status equals (ignore case) | WhatsApp template |
|---|---|---|
| On the way | On the way | technician_on_way: 1 = Customer, 2 = Technician, 3 = Job ID |
| Completed | Completed | job_completed: 1 = Customer, 2 = Job ID |
| Rescheduled | Rescheduled | Telegram to the coordinator to call the customer |
| Else | Accepted, or anything else | Nothing |
Accepted deliberately sends the customer nothing; it’s an internal signal that stops the escalation in Workflow 1. Rescheduled goes to a person because a new time needs a conversation, not a template.
The WhatsApp steps use {{ $trigger.Phone }} as the recipient, which is already clean because Workflow 1 wrote it that way. The sheet trigger reads raw cell values, so keep dates out of these templates or use a text column for them; a date cell arrives as a serial number rather than the date you see.
How technicians update the status
Technicians open the Jobs sheet in the Google Sheets app and pick the new status from the dropdown. Two habits make this work in practice:
- Give each technician a filter view showing only their name and open jobs, so they aren’t scrolling through the whole team’s work.
- Share the sheet only with your team, and think about how much customer data it holds. Every technician with access can see every customer’s phone and address; protected ranges and filter views limit editing, not viewing.
If your team would rather reply to the bot than open a sheet, WorkflowMitra’s chat trigger can receive Telegram messages and update the row from a reply such as “J-261018-104512 on the way”. It’s more setup (the webhook secret and Telegram’s setWebhook call), and Telegram bot automation walks through it.
What it costs
WorkflowMitra charges one credit for most executed steps, and logic steps are free:
| Step | Credits |
|---|---|
| Workflow 1: webhook trigger | 1 |
| Switch, Set Variable, Delay, IF | 0 |
| Assign to the next person | 1 |
| Google Sheets: Add row(s) | 1 |
| Telegram to technician | 1 |
| WhatsApp confirmation | 1 |
| Google Sheets: Find row (acceptance check) | 1 |
| Telegram to coordinator (only when a job is late) | 1 |
| Workflow 2: sheet trigger + WhatsApp, per status update | 2 |
| Typical job: intake + two updates | 10 |
At 400 jobs a month that’s about 4,000 credits, inside WorkflowMitra’s Starter plan of 10,000 credits a month for ₹999 (checked on the pricing page on 18 October 2026), after a 14-day trial with no card.
WhatsApp messages carry their own charges: Meta bills each delivered utility template sent outside the customer service window, and ChatMitra’s fee is counted per conversation, once per customer per 24 hours, not per message (ChatMitra pricing). Telegram messages to your technicians cost nothing beyond the credit.
Test it before the first busy day
The editor’s Run button performs a live run, so test with your own phone as the customer and your own Telegram as every technician. Walk through these cases:
| Test | Expected result |
|---|---|
| Three requests for Andheri in a row | Three different technicians, in list order |
| An urgent request in Bandra | Goes to the on-call list, not the Bandra rotation |
| A request with the area left blank | Else route; the coordinator gets every field |
| A ten-digit phone number | Logged and messaged with 91 in front |
| Status left as Assigned | Coordinator alert after the Delay |
| Status set to Accepted within the Delay | No coordinator alert |
| Status changed to On the way, then Completed | Two customer messages, within the polling interval |
Then open the runs in WorkflowMitra’s execution history and check each step: the Switch route taken, the technician the Assign step picked, the row written, the Find row result after the Delay. Testing an automated workflow has a fuller checklist.
Common mistakes
- Free-text areas. “Andheri (W)” and “andheri west” won’t match a rule. Use a dropdown on the form.
- Urgent route below the area routes. The first match wins; urgent must come first.
- Referring to an Assign step by name after the routes join. Gather the technician into one Set Variable step and refer to that.
- Lower-case date tokens in the job ID.
formatDatewantsYYandDD. - Trusting the job’s status from before the Delay. Read the sheet again after waiting.
- A Status column without a dropdown. “Done” and “Completed” are two different values to every rule.
- Messaging the customer on every change. Accepted is internal; only the steps a customer cares about deserve a message.
- Ten-digit numbers on WhatsApp. Add the country code before the WhatsApp step sees the number.
Fewer messages for the coordinator, faster answers for the customer
Job dispatch automation doesn’t replace the person who knows that Imran is quickest with split ACs or that the Powai team is short this week. It removes the copying and chasing around them: every request gets routed, assigned, logged, sent and confirmed in seconds, the customer hears about each step without a phone call, and the jobs nobody picked up arrive on the coordinator’s phone instead of disappearing into a busy group chat.
WorkflowMitra, powered by ChatMitra, gives you the pieces in one visual editor: webhook and Google Sheets triggers, free Switch and IF routing, a round-robin Assign step with its own rotation per route, Google Sheets logging, Telegram for your team and WhatsApp templates for customers through ChatMitra or Meta’s Cloud API. When you need calendars, route planning or GPS tracking, a field service platform is the stronger choice, and a workflow can still connect it to your forms, sheets and messaging.
Build this dispatch flow on a WorkflowMitra trial: 14 days, 10,000 credits, no card needed. For other team requests such as purchase or IT tickets, read internal request intake, and for the sheet itself, Google Sheets automation.
WorkflowMitra behaviour was verified against the product's source code on 18 October 2026: the Assign step's rotation, list limit and outputs, the Switch and IF operators and route order, Set Variable's output, the Google Sheets trigger's column-change events and run input, the Telegram and WhatsApp steps, the Delay step and the credit rates. The job ID and `$node` expressions were executed through WorkflowMitra's template engine on that date. Telegram's rule on starting conversations comes from its Bot API page, and WhatsApp pricing rules from Meta's pricing documentation, both read on 18 October 2026. Plan prices were read from WorkflowMitra's live plan catalogue on the same day. Names, areas, addresses and job volumes are examples.
Frequently Asked Questions
Questions service businesses ask before they automate technician dispatch.
Job dispatch automation is a workflow that takes each new service request, decides which technician should handle it, sends that technician the job details and keeps the customer informed, without a coordinator copying details between WhatsApp, phone calls and a register. It usually routes by area or service type, assigns in rotation or from a roster, logs every job in one place and escalates when a job isn't accepted in time.
Automate the work between your apps
Build workflows with triggers, conditions and actions, then test them before they go live. Try WorkflowMitra free for 14 days, no card required.