Lead Lifecycle Stages: Define Them Once, Then Automate Every Stage Change

Quick Summary
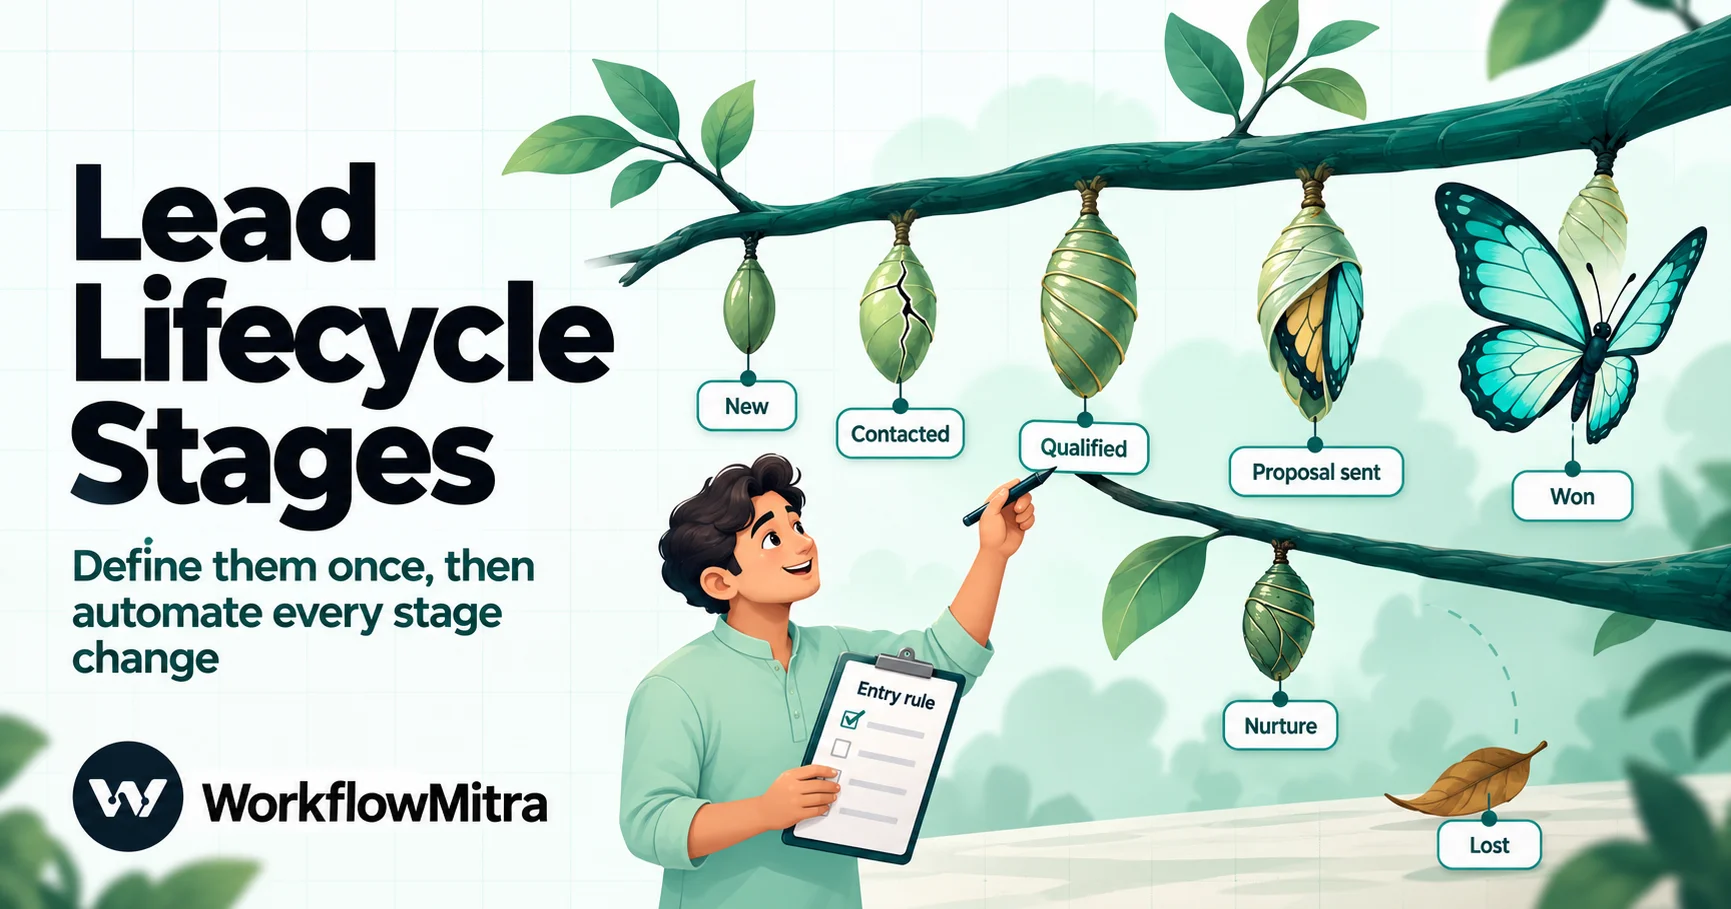
Lead lifecycle stages are the named steps a lead passes through, from first contact to a won or lost sale. A small team usually needs seven: New, Contacted, Qualified, Proposal sent, Won, Lost and Nurture, each with a written entry rule based on something that actually happened, an owner and a time limit. MQL and SQL matter only when marketing and sales are separate teams. Once the stages are agreed, every stage change can trigger the follow-through automatically: a history row, an alert, a reminder or a handoff. WorkflowMitra, powered by ChatMitra, does this from a Google Sheets stage column or a Zoho CRM field update, using a helper column to remember the previous stage.
Ask three people on a small sales team what “qualified” means and you’ll usually get three answers. One means the person replied. One means they asked for a price. One means they have a budget and want to buy this quarter. The Stage column in the sheet or CRM says “Qualified” for all three, so the follow-up that depends on it fires for the wrong leads, the pipeline report means nothing, and before long nobody trusts the column enough to update it.
Lead lifecycle stages fix this, but only if they’re written down as rules and then used for something. This guide does both. The first half defines a set of stages a small team can actually run, with entry rules, owners and time limits, and shows where marketing terms such as MQL and SQL fit. The second half builds one workflow that reacts to every stage change: it records the change, catches leads moved backwards, and does each stage’s follow-through automatically.
The example workflow uses WorkflowMitra, powered by ChatMitra, with a Google Sheets lead list, and a later section covers Zoho CRM. Every expression and rule in it was run through WorkflowMitra’s expression engine and routing steps on 19 October 2026.
What are lead lifecycle stages?
Lead lifecycle stages are the named steps a lead moves through between first contact and a final outcome, such as New → Contacted → Qualified → Proposal sent → Won, with Lost and Nurture as exits. Each stage should have a written entry rule based on something that actually happened, one owner and a time limit. Once the rules are clear, each stage change becomes a reliable trigger for automation: logging the change, alerting the next person and scheduling the follow-up.
Two words in that definition do most of the work. Named means everyone uses the same short list, picked from a dropdown rather than typed. Rule means a lead enters a stage because of evidence anyone could check, not because of a feeling about the lead.
Lifecycle stage, lead status and deal stage: three different things
Before writing your own stages, it helps to separate three ideas that CRMs often mix together.
- Lifecycle stage is where a person is in the whole relationship with your business, from first sign-up to paying customer. HubSpot’s default lifecycle stages run from Subscriber through Lead, Marketing Qualified Lead, Sales Qualified Lead and Opportunity to Customer and Evangelist.
- Lead status is what’s happening with a lead during sales follow-up, before it’s qualified or disqualified. HubSpot’s default lead statuses, for example, include New, Attempted to Contact, Connected and Bad Timing, and Salesforce’s training material uses values such as Open – Not Contacted and Working – Contacted.
- Deal (opportunity) stage tracks one specific sale after it’s real: needs analysis, proposal, negotiation, closed won or lost. In Zoho CRM and Salesforce, a lead is converted into a contact, an account and optionally a deal at this point, and deal stages take over.
A small team rarely needs all three. One Stage column that runs from the first enquiry to won or lost, plus a Lost reason column, covers most businesses with a sales cycle of days or weeks. Add a separate status or deal pipeline only when you can name a decision it would change.
A seven-stage model for small teams
Here is a set of stages that works for most small B2B and high-value B2C businesses: a packaging supplier, an interior design studio, a training institute, a software reseller. Each row says what must be true to enter the stage, who owns the lead while it’s there, how long it may sit, and what should happen automatically when a lead arrives.
| Stage | Entry rule (what must have happened) | Owner | Time limit | Automatic follow-through |
|---|---|---|---|---|
| New | The lead exists with a phone number or email and a source | Assigned rep | First reply within 1 working day | Assign an owner and alert them |
| Contacted | A two-way conversation happened: a call answered, or a reply by email or WhatsApp | Rep | Qualify or close within 7 days | Log the change; set the next follow-up date |
| Qualified | Need, rough budget or quantity, timeline under 90 days and the decision-maker are confirmed | Rep | Proposal within 3 working days | Alert the sales lead; prepare a summary |
| Proposal sent | A quote with a price has gone to the customer | Rep | Decision chased every 3 days | Reminder if the stage hasn’t moved after 3 days |
| Won | Purchase order received or advance paid | Operations | n/a | Handoff to delivery; welcome message |
| Lost | A reason is picked from a fixed list | Rep | n/a | Ask for the reason if it’s blank |
| Nurture | A real need, but the timeline is beyond 90 days | Rep | Re-check in 30 days | Reminder when the re-check date arrives |
Change the numbers to fit your business. The 90-day line between Qualified and Nurture, for example, should match how far ahead your team can usefully sell. What matters is that every cell is filled in and written down where the team can see it, such as a note at the top of the sheet.
Where MQL and SQL fit
MQL and SQL come from companies where marketing generates leads and a separate sales team works them. A marketing qualified lead has shown enough interest or fit for marketing to pass it on; a sales qualified lead is one sales has accepted and confirmed is worth pursuing. The handover between the two is where leads go missing, so the two terms exist to make it visible.
If one person or one small team both markets and sells, the distinction adds a stage without adding a decision. Treat Qualified as both. If you do have the split, add two stages between New and Qualified:
| This guide’s stage | Two-team version | Closest HubSpot lifecycle stage | Closest HubSpot lead status |
|---|---|---|---|
| New | New | Lead | New |
| Contacted | Contacted | Lead | Connected |
| (not used) | MQL: marketing hands over | Marketing Qualified Lead | Open |
| Qualified | SQL: sales accepts | Sales Qualified Lead | In Progress |
| Proposal sent | Proposal sent | Opportunity | Open Deal |
| Won | Won | Customer | (no longer a lead) |
| Lost | Lost | Other, or keep the stage and record a reason | Unqualified |
| Nurture | Nurture | Lead | Bad Timing |
HubSpot is used here because its defaults are the most widely copied; the stage and status names come from its knowledge base, and the pairing with this guide’s stages is our own translation, not HubSpot’s. HubSpot itself says the Sales Qualified Lead stage has sub-stages stored in the lead status property, which is the same split as stage versus status above. Whatever tool you use, the point is that your own stage names should map cleanly onto it, or onto the tool you might move to later.
How to write entry rules that hold up
Most stage definitions fail for one of five reasons. Avoiding them is most of the work.
- The rule describes effort, not evidence. “Called the lead” is effort; “the lead answered and we spoke” is evidence. Effort-based stages fill up with leads nobody has actually spoken to. Write rules that a colleague could check from the record: a reply, a quote document, a purchase order.
- Two stages overlap. If a lead could fairly be in either Contacted or Qualified, people will choose differently. Each rule should make the next stage’s rule false until something new happens.
- The exits are vague. Lost without a reason teaches you nothing. Give Lost a fixed list of reasons, such as price, chose a competitor, no budget, no response after three attempts, not a fit, and make the reason required.
- Nobody owns the stage. If a lead in Won has no owner in operations, the handoff is nobody’s job. Every stage needs one owner, even if the owner is a role rather than a person.
- There’s no clock. Without a time limit, a lead can sit in Qualified for a month without anyone noticing. A time limit turns an invisible stall into something a workflow can catch.
One more rule for the team, not the stages: only people change the stage, and only by picking from the dropdown. Automation reacts to stage changes; it shouldn’t make the judgement calls that move a lead from Contacted to Qualified. The exceptions are mechanical moves, such as setting Won when a payment webhook confirms an advance, where the evidence itself arrives automatically.
Why stage changes make good automation triggers
A stage change is a decision someone has just made about a lead. It’s also the moment when several small jobs become due: tell the next person, write down when it happened, set a reminder, send a message. Those jobs are where small teams lose leads, because each one depends on someone remembering.
| When a lead moves to | Do automatically | Leave to people |
|---|---|---|
| New | Pick the next rep in turn; alert them with the lead’s details | The first conversation |
| Qualified | Alert the sales lead; record the date | Deciding what to propose |
| Proposal sent | Check after 3 days whether it moved; remind the owner if not | The follow-up call itself |
| Won | Send the handoff to operations; send a welcome message | Kick-off and delivery |
| Lost | Ask the owner for a reason if it’s missing | Deciding whether to revisit |
| Any stage, backwards | Alert a manager with the from and to stages | Judging whether it was right |
People keep the judgement; the workflow keeps the books, so a workflow mistake can send a wrong message but never qualify a lead.
Build it: one workflow for every stage change
The rest of this guide builds that table as one workflow in WorkflowMitra, powered by ChatMitra, on a Google Sheets lead list. If your sheet isn’t set up yet, the guide to using Google Sheets as a CRM covers the layout, dropdowns and the capture workflow that adds leads. This workflow sits on top of it.
The sheet
You need three tabs.
- Leads: one row per lead, with the columns
Lead ID,Name,Phone,Email,Source,Owner,Stage,Last stage,Stage since,Lost reasonandNext follow-up.Lead IDmust be unique and never change; a value such asL-1042is ideal. - Stage history: one row per stage change, with the columns
Changed at,Lead ID,Name,From,ToandOwner, in that order. Nobody types here; the workflow does. - Lists: the allowed stages and lost reasons. Point the Stage and Lost reason columns at these ranges with Insert › Dropdown, then Dropdown from a range, so nobody can type a stage that isn’t on the list.
Last stage and Stage since are written only by the workflow. Hide or protect them if people might edit them by accident.
Step 1: watch the Stage column
Start a new workflow whose trigger is Google Sheets, watching the Leads tab. Set Use column headers as IDs of the columns to Yes and choose Lead ID as the ID column, so sorting or filtering the sheet is never mistaken for an edit. Under Run when…, tick two events:
- A row is added, so brand-new leads are processed.
- One column changes, with
Stageas the only entry in Columns to watch.
You need both because the trigger reports a brand-new row only as “added”, even if its Stage is filled in. Later edits to Stage arrive as “column changed”. Either way, the run receives the whole row as it looks now.
By default the sheet is read every 5 minutes; How often to check goes down to once a minute. A read that finds no change is free and leaves nothing in the run history. On the very first check, the trigger records the rows that already exist and fires nothing, so existing leads won’t flood the workflow when you switch it on.
The missing piece: where did the lead come from?
Here is the catch that most stage-change tutorials skip. The Sheets trigger tells you the row’s current values. It doesn’t tell you what the Stage column said before, so on its own the workflow can see that a lead is now in Proposal sent but not whether it came from Qualified or from Won.
The Last stage column solves this. At the end of every run, the workflow copies the current stage into Last stage. On the next change, Last stage still holds the old value while Stage holds the new one, so the run can see both. Because the trigger watches only Stage, the workflow’s own write to Last stage doesn’t start another run.
Step 2: continue only if the stage really changed
Add an IF step with one route, labelled Stage changed, and two rules joined with AND:
{{ $trigger.Stage }}Not equal to{{ $trigger["Last stage"] }}{{ $trigger.Stage }}Is not empty
Anything else, such as a new row added with no stage yet, goes to Else and ends the run. Square brackets are needed for column names with spaces, such as Last stage; type plain straight quotes, because curly quotes copied from a document break the reference.
Step 3: write the history row
Add a Google Sheets step, operation Add row(s), on the Stage history tab, and map the columns in order:
| Column | Value |
|---|---|
| Changed at | {{ now() }} |
| Lead ID | {{ $trigger["Lead ID"] }} |
| Name | {{ $trigger.Name }} |
| From | {{ ifempty($trigger["Last stage"], "(none)") }} |
| To | {{ $trigger.Stage }} |
| Owner | {{ $trigger.Owner }} |
Two details matter here. Add row(s) writes values by column position, so if you later insert a column into the history tab, reopen and re-save this step. And now() returns a UTC timestamp such as 2026-10-19T12:13:24.901Z; set Write values to Exactly as written (no formulas) so Sheets keeps it as text, then convert it to Indian time in a helper column with =DATEVALUE(LEFT(A2,10))+TIMEVALUE(MID(A2,12,8))+TIME(5,30,0).
Step 4: remember the new stage
Add another Google Sheets step, operation Update row, on the Leads tab. Set Key column to Lead ID and Key value to {{ $trigger["Lead ID"] }}. Map Last stage to {{ $trigger.Stage }} and Stage since to {{ now() }}, and leave every other column Untouched so nobody’s edits are overwritten.
From here on, $trigger still refers to the row as it was when the run started, so later steps can keep using {{ $trigger.Stage }} and {{ $trigger["Last stage"] }}.
Step 5: catch leads moved backwards
A lead going from Proposal sent back to Contacted may be perfectly reasonable, but a manager should see it. To compare stages, give each forward stage a number with the switch function:
{{ switch($trigger.Stage, "New", 1, "Contacted", 2, "Qualified", 3, "Proposal sent", 4, "Won", 5, 0) }}The last value, 0, is what Lost, Nurture and anything unrecognised get. Add an IF step with a route labelled Moved back and two AND rules: the expression above Greater than 0, and the same expression Less than the matching expression for $trigger["Last stage"]. On that route, add a Slack, Telegram or Email step to the sales lead:
{{ $trigger.Name }} ({{ $trigger["Lead ID"] }}) moved back from {{ $trigger["Last stage"] }} to {{ $trigger.Stage }}. Owner: {{ $trigger.Owner }}.We ran these rules against six sample changes. Qualified → Proposal sent and New on a fresh row passed through; Proposal sent → Contacted took the Moved back route; Proposal sent → Lost and a lead reopened from Lost to Qualified did not, because exits score 0. Connect both the Moved back branch and the Else branch to the next step so every run carries on.
Step 6: send each stage down its own path
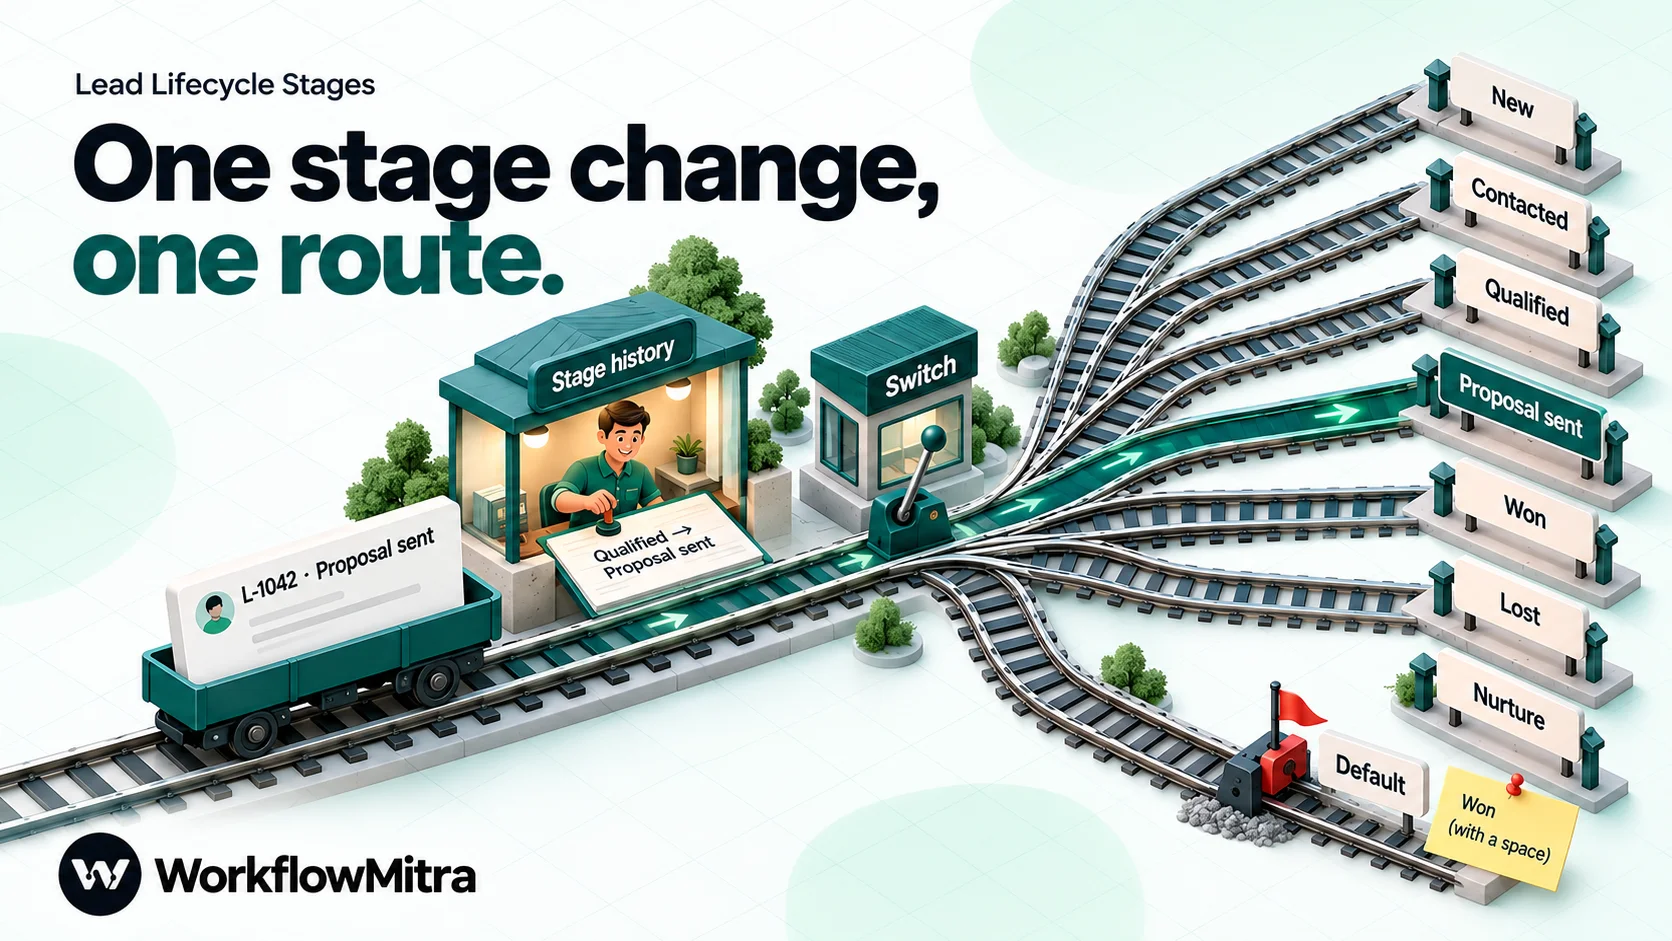
Now place a Switch step with one route per stage. For each route, use the rule {{ $trigger.Stage }} Equal to, ignore case and the stage name: New, Contacted, Qualified, Proposal sent, Won, Lost and Nurture. A Switch can hold up to 20 routes, so there’s room to grow.
Leave the Default route for values that match nothing, and send it an alert. In our test, a stage typed as Won with a trailing space matched no route and went to Default; “ignore case” forgives won but not stray spaces. The dropdown prevents both, but the Default alert tells you when someone has pasted over it.
What each stage’s route should do
Each route only needs a few steps. These are starting points; keep the ones that match the time limits you wrote down.
New. Add an Assign to the next person step to pick the next rep in turn, a Google Sheets Update row to write {{ assignedName }} into Owner, and an alert to that rep with the name, phone, source and a link to the sheet. The round-robin lead assignment guide covers rotation rules, holidays and uneven splits.
Contacted. Often nothing beyond the history row. If your team uses Next follow-up, write a date into it with an Update row step, such as {{ formatDate(addDays(now(), 3), "YYYY-MM-DD") }}, and let a daily summary pick it up.
Qualified. Alert the sales lead in Slack or Telegram so a good lead never waits for the weekly meeting. If your leads arrive with long form answers or chat histories, an AI lead summary step can condense them for the rep; it uses your own AI provider key.
Proposal sent. This is the route that recovers the most revenue. Add a Delay of 3 days, then a Google Sheets Find row with Lead ID as the key column and {{ $trigger["Lead ID"] }} as the key value, then an IF that continues only if {{ row.Stage }} is still Proposal sent. If it is, remind the owner. The re-check after the Delay is essential: a waiting run keeps going even if the lead was won in the meantime, and it can’t be cancelled, so the check is what stops a “please chase” message about a customer who has already paid. The guide to delays and waits explains the pattern in more detail.
Won. Send the handoff: an email or Slack message to operations with everything they need, and a row in your orders or projects sheet. If you message customers on WhatsApp, a WhatsApp step can send an approved welcome template through ChatMitra, the WhatsApp Business API platform behind WorkflowMitra; WhatsApp for sales covers the messaging side. The sales-to-operations handoff guide lists what a good handoff contains.
Lost. Add an IF on {{ $trigger["Lost reason"] }} Is empty, and if it is, ask the owner to fill it in while they still remember. Lost reasons are the cheapest market research you have, but only if they’re recorded consistently.
Nurture. Add a Delay of 30 days, which is the maximum, then the same Find row and IF re-check. If the lead is still in Nurture, remind the owner to get back in touch and record a new Next follow-up date. For longer gaps, a daily scheduled workflow that reads Next follow-up is more reliable than a chain of delays.
Stage history: the report a single column can’t give you
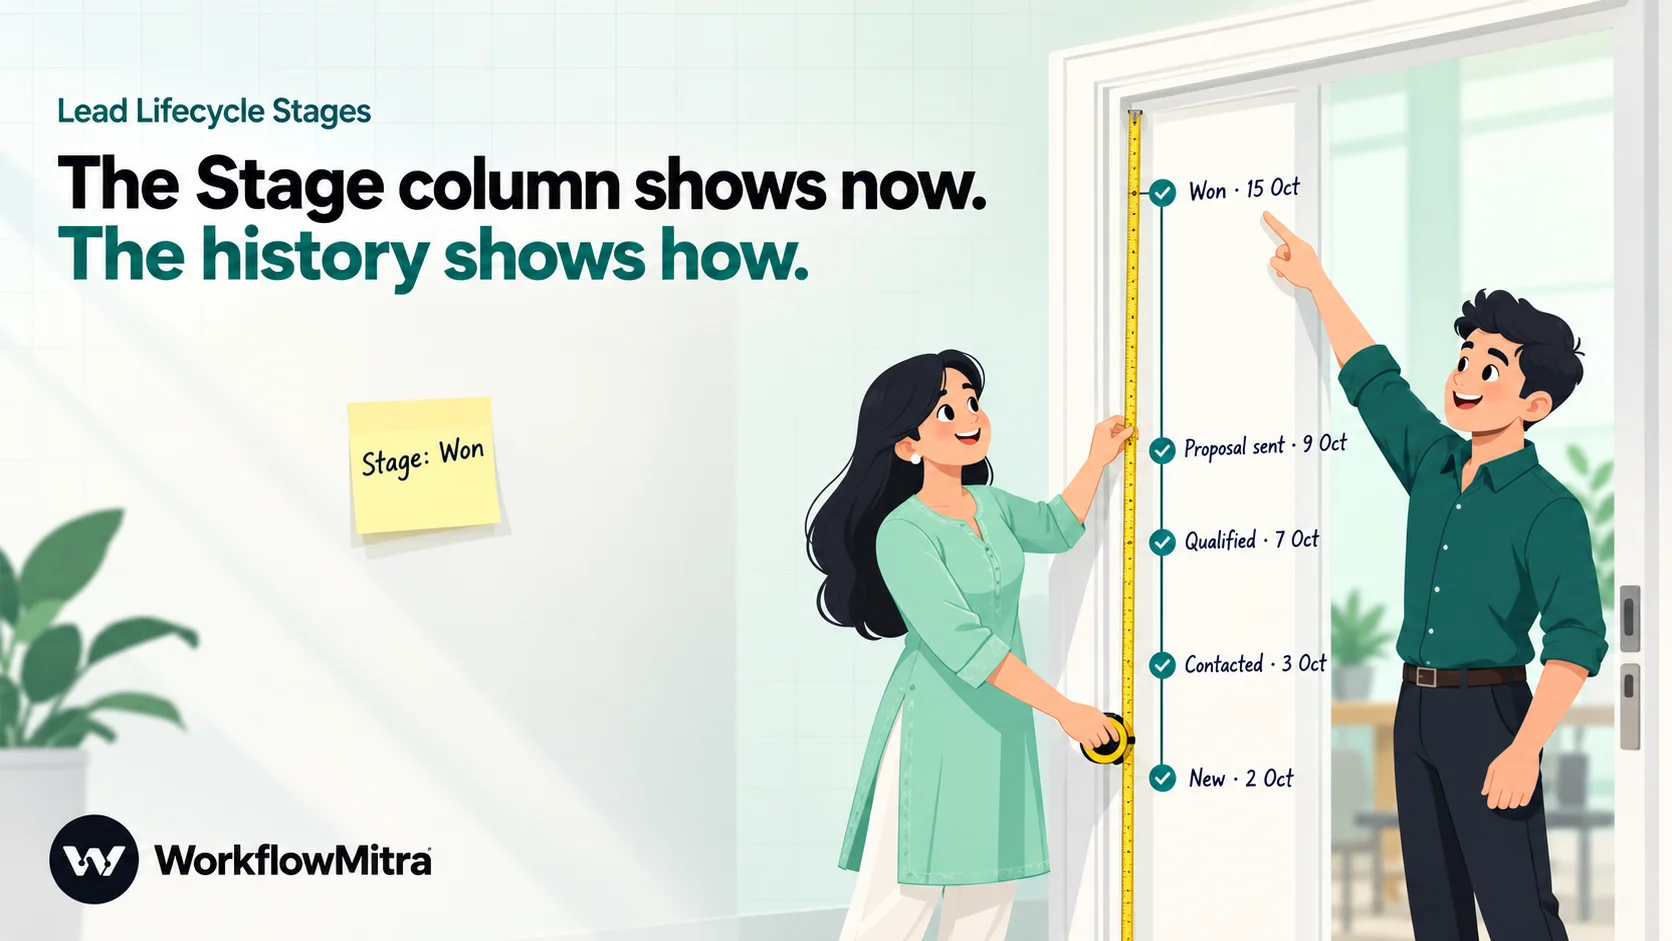
A Stage column only knows the present. It can tell you that twelve leads are in Proposal sent today, but not how many proposals were sent this month, how many of them turned into wins, or how long leads usually wait before someone qualifies them. Those answers need the history tab the workflow is now filling.
With one row per change, a few formulas on a Report tab give you the numbers most small teams want:
- Stage entries this month:
=SUMPRODUCT(('Stage history'!E2:E="Proposal sent")*(LEFT('Stage history'!A2:A,7)=TEXT(TODAY(),"yyyy-mm")))counts how many times a lead entered Proposal sent this month. The month is read from the UTC timestamp, so a change made before 5:30 am IST on the 1st counts in the previous month. - Conversion between stages:
=COUNTUNIQUE(FILTER('Stage history'!B2:B,'Stage history'!E2:E="Won"))/COUNTUNIQUE(FILTER('Stage history'!B2:B,'Stage history'!E2:E="Qualified"))divides the leads that ever reached Won by the leads that ever reached Qualified. Counting unique Lead IDs means a lead that bounced back and forth counts once. - Time in the current stage: on the Leads tab,
=NOW()-(DATEVALUE(LEFT(I2,10))+TIMEVALUE(MID(I2,12,8))+TIME(5,30,0)), formatted as a number, gives the days since the lead entered its current stage, where column I isStage sinceand the spreadsheet’s time zone is India (File › Settings). Sort by it to find leads that have overstayed their time limit. - Time in each stage over time: for each lead, the gap between the row where it entered a stage and its next row. A pivot table on the history tab, grouped by the From stage, shows which stage holds leads longest.
- Backward moves: count the rows where the From stage ranks above the To stage. A rising number usually means a stage definition is unclear, not that the team is careless.
To send the numbers out, a second workflow with a Schedule trigger every Monday at 9:00 can read the Report tab with Google Sheets Read rows and post a short summary to Slack or by email. The guide to automated daily reports shows how to format one.
Look at the history before changing your stage definitions. If leads routinely skip Contacted and land in Qualified, either the rule for Contacted is pointless or people are skipping a real conversation. Both are worth knowing.
Edge cases the sheet trigger creates
A polling trigger sees the sheet only at each check, not at every edit. Five behaviours follow from that.
- Two changes within one check look like one. If a rep moves a lead from Contacted to Qualified and then to Proposal sent within five minutes, the next check sees one change, and the history row reads Contacted → Proposal sent. The Qualified route never runs. If a stage’s actions must always happen, check every minute, or design the later stage’s route to cover the earlier one’s essentials.
- A change reverted within one check never happened. Changing Proposal sent to Won by mistake and back again within the same window starts no run. That’s usually what you want.
- A new row arrives as “added”, with whatever stage it has. A lead pasted in with Stage already set to Qualified runs the Qualified route, and the history shows
(none) → Qualified. - Duplicate or blank IDs cause problems. A blank
Lead IDmeans the row is skipped. Two rows with the same ID put the trigger into an error state until you fix them, and WorkflowMitra can alert you when a sheet trigger has been failing. - Sorting is safe; changing the ID column is not. Because rows are tracked by
Lead ID, sorting and filtering are ignored. Editing a lead’s ID makes it look like one lead was deleted and another added.
If your stages live in Zoho CRM
The same design works when the stage lives in a CRM field. In Zoho CRM, create a workflow rule on the Leads module that runs when a record is edited and the Lead Status field is modified, with a webhook action that sends the lead’s ID, name, owner and new status to a WorkflowMitra webhook trigger (choose the Something else source). Workflow rules exist on every Zoho CRM edition, but the webhook action starts at Professional, so Free, Starter and Standard can’t send the change out. For the field-by-field Zoho setup and the shared-secret header, follow our walkthrough of the Zoho CRM WhatsApp integration.
Zoho doesn’t send the previous value either, so the workflow needs somewhere to remember it. Two options work:
- Keep a small sheet keyed by the Zoho record ID with a
Last stagecolumn, and use the same Find row, IF and Update row pattern as above. - Add a custom Last status field in Zoho and write it back with a Zoho CRM step, operation Update Record, using the record ID. Make sure the Zoho rule fires only on Lead Status, or the write-back will trigger it again.
After that, the Switch and the stage routes are the same. A Create Note step on the lead is a natural place to record each change inside Zoho, alongside the history tab. When a lead is converted, Zoho creates a contact, an account if the lead has a company name, and optionally a deal; the conversion can’t be undone, and the lead status doesn’t carry over, because the deal starts at the stage the user picks. From then on, a second rule on the Deals Stage field can drive the later routes such as Won and Lost. (Zoho keeps a picklist history only on its Enterprise and Ultimate editions, so the history tab is still useful on Professional.)
On HubSpot, lifecycle stage automation is usually done with HubSpot’s own workflows; the “Set a property value” action and the time-in-stage properties need a Professional or Enterprise subscription. WorkflowMitra can call HubSpot’s API through its App Request step, but it has no HubSpot trigger. To react to HubSpot stage changes, a HubSpot workflow would have to send a webhook to WorkflowMitra, so check that your HubSpot plan includes that action before planning around it.
What it costs to run
WorkflowMitra charges one credit for each step that runs, and IF, Switch and Delay steps cost nothing. A typical stage change uses:
- 1 credit for the trigger
- 1 credit for the history row
- 1 credit for updating
Last stageandStage since - 1 or 2 credits for the stage’s own action, such as an alert or a Find row plus a reminder
That’s 4 to 5 credits per change. A team handling 300 leads a month, each changing stage four times on average, uses about 4,800 to 6,000 credits a month, inside the 10,000 credits of the Starter plan at ₹999 a month (₹849 a month billed yearly), checked on 19 October 2026. Checks that find no change are free, so a quiet sheet costs nothing.
Common mistakes with lead stages and stage automation
- Automating before agreeing the definitions. A workflow amplifies whatever the Stage column means. If it means different things to different people, the alerts and reminders will be wrong in different ways.
- Mixing stages and statuses in one list. “Call back Tuesday” and “Sent brochure” are activities, not stages. Put them in a notes or next-action column.
- Watching the whole row. A trigger that fires on any change reruns whenever the workflow writes back to the row. Watch the Stage column only.
- Trusting the trigger to know the old stage. It doesn’t. Without a
Last stagecolumn, you can’t log from → to or catch backward moves. - Delays without a re-check. A reminder sent three days after Proposal sent must first confirm the stage is still Proposal sent.
- Never reading the history. The point of logging every change is to learn where leads stall. Review the numbers monthly and adjust the stages that aren’t working.
Start with the definitions
Write your stage table first: names, entry rules, owners and time limits, agreed by the people who’ll update the column. Then build the stage-change workflow, starting with the trigger, the IF, the history row and the Last stage update, which together give you a reliable log from day one. Add the stage routes one at a time, beginning with Proposal sent, where a forgotten follow-up costs the most.
You can build and test it on a 14-day WorkflowMitra trial, no card required. For the steps before a lead reaches your stages, capturing it, cleaning it and making the first reply, read the guide to lead management automation. For what happens once deals are real, see CRM automation.
HubSpot's default lifecycle stages and lead statuses, its forward-only rule for automatic updates, the lead status sub-stages of a sales qualified lead and the plan requirements for workflow actions and time-in-stage properties were read in HubSpot's knowledge base on 19 October 2026. Salesforce's example lead statuses and conversion behaviour come from its Trailhead module on creating and converting leads, and its MQL and SQL definitions from Salesforce's own guide. Zoho CRM's workflow triggers, webhook limits by edition, picklist history availability and lead conversion rules were read in Zoho's help centre and edition comparison the same day. WorkflowMitra behaviour (the Google Sheets trigger's events, its first-check baseline and lack of previous values, the IF and Switch operators, the switch, ifempty, now, addDays and formatDate functions, the Assign and Find row outputs, Delay limits and credit rates) was checked in the product's source code on 19 October 2026, and every expression and routing rule shown was run through the expression engine and the IF and Switch steps with sample rows. Prices come from WorkflowMitra's live plans the same day. Sources: HubSpot, use lifecycle stages; Salesforce Trailhead, create and convert leads; Salesforce, MQL vs SQL; Zoho CRM, workflow rules FAQ; Zoho CRM edition comparison; Zoho CRM, convert leads.
Frequently Asked Questions
Questions small sales teams ask when they set up lead stages and automate what happens at each one.
For a small team, seven stages cover most sales processes: New (the lead exists), Contacted (a two-way conversation happened), Qualified (need, budget band, timeline and decision-maker confirmed), Proposal sent (a quote with a price went out), Won, Lost and Nurture (a real need, but not within your sales window). Larger teams split the early stages into subscriber, lead, MQL and SQL so marketing and sales can hand over cleanly.
Automate the work between your apps
Build workflows with triggers, conditions and actions, then test them before they go live. Try WorkflowMitra free for 14 days, no card required.